Pattern Hacks
S & S Tote – Adjustable Strap

Ready for our next pattern hack for the S & S Tote? Today I am going to show you how to add an adjustable removable strap to your tote. This makes it into a perfectly slouchy cross-body bag! So lets get to it!
Not familiar with the S & S Tote tote bag pattern? Not to worry! You can find it here. Plus! There’s also a full length video tutorial available for this pattern as well! Click here to find out more!
To make two strap connectors you will need:
- 2 pieces of fabric, 6″ x 3″ (15cm x 8cm)
- 2 pieces of lightweight interfacing, 3″ x 3″ (8cm x 8cm)
- 2 d-rings, 1.5″ (4cm) size
To make the strap you will need:
- 1 strip of fabric, 6″ x 44″ (15cm x 112cm) (or longer if you wish!)
- 1 strip of lightweight interfacing, 3″ x 44″ (8cm x 112cm)
- 2 swivel hooks, 1.5″ (4cm) size
- 1 strap slider, 1.5″ (4cm) size

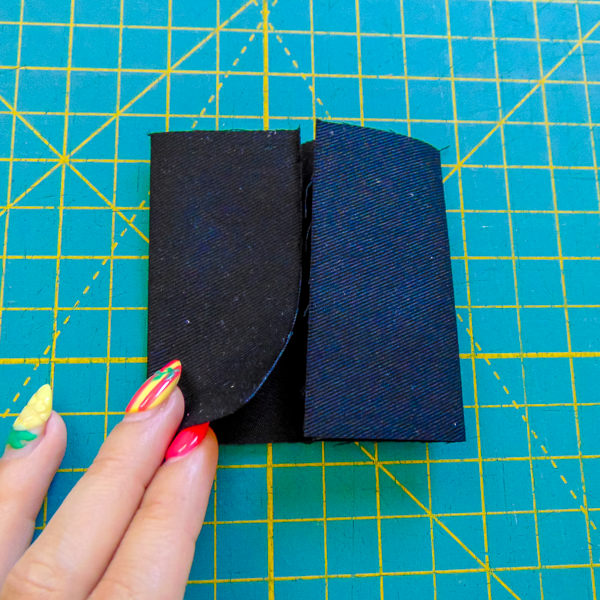
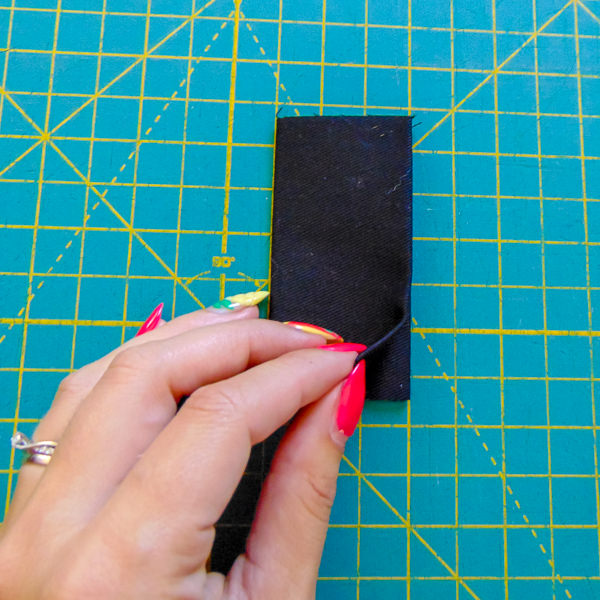
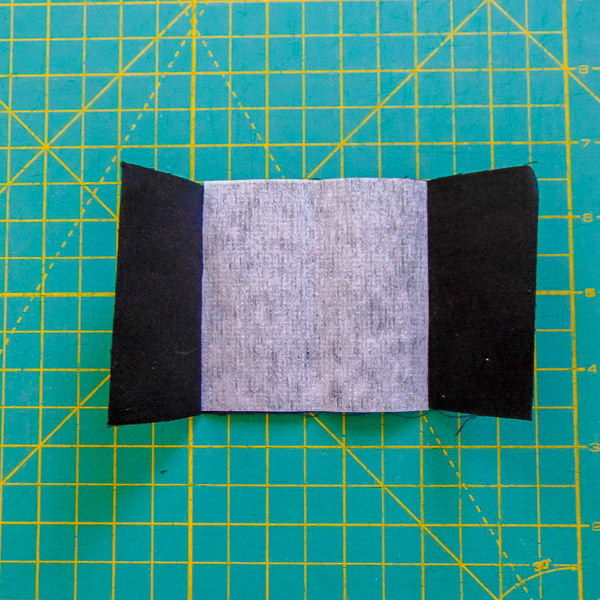
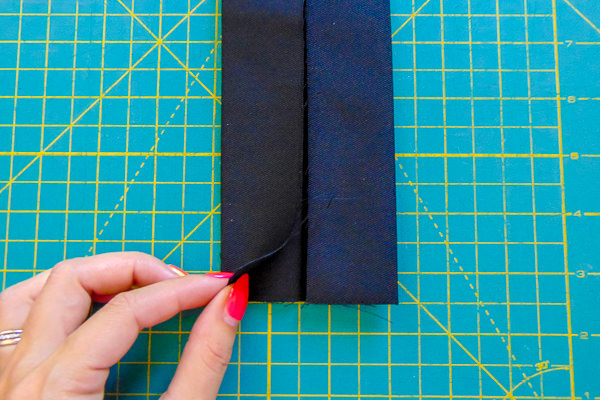
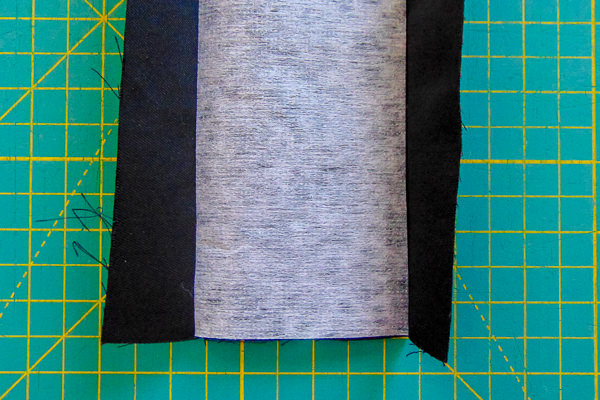
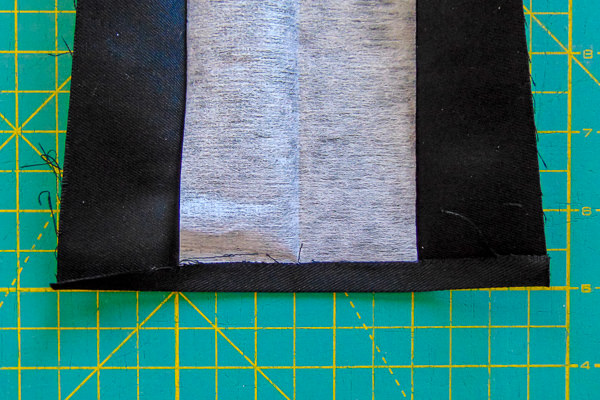
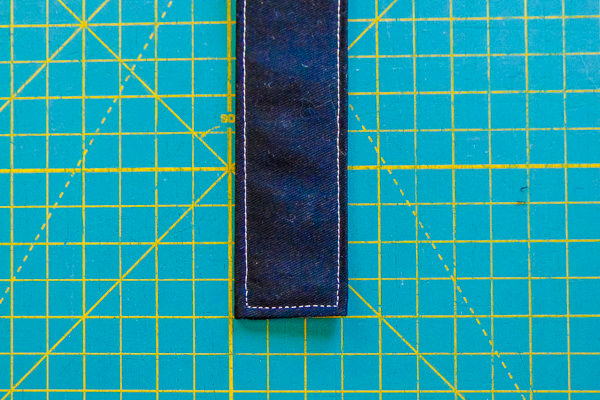
Referring to the “Create a Handle or Strap” tutorial follow these steps: Fold long sides into middle, fuse the interfacing down the middle and top stitch the two long edges with an 1/8″ seam allowance.
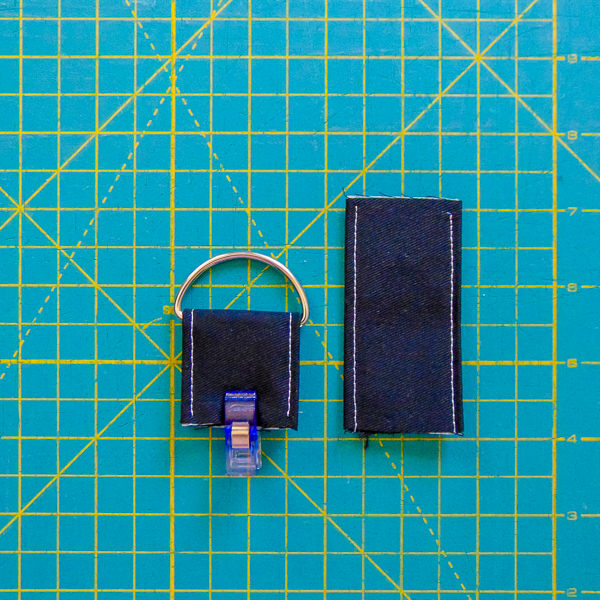
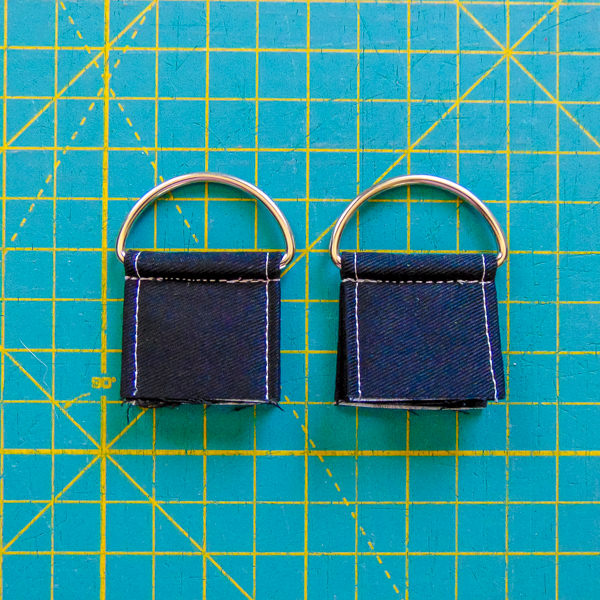
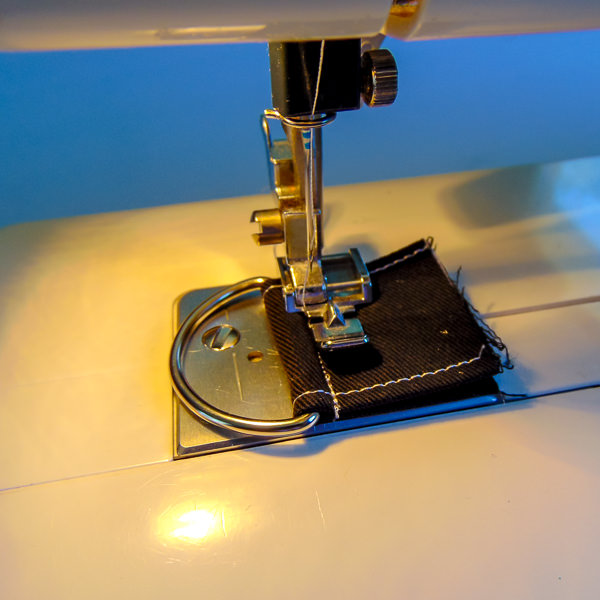
Fold your connector in half and slide on the d-ring. Top stitch as close to the straight edge of the d-ring as possible
Bonus Tip: To get nice and close, pop on your zipper foot so that the foot sits right on top of the d-ring as you stitch. Makes it much easier to get close!
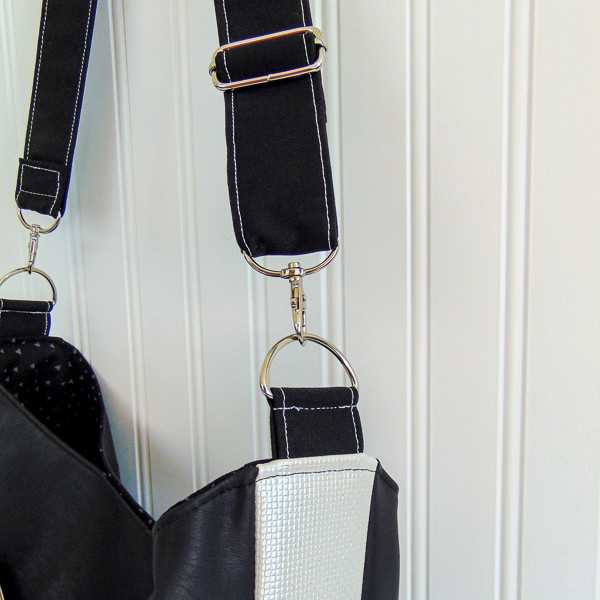
Baste your strap connectors to the side gusset of your finished exterior. Complete your bag as per Assembling Your Tote Step 12 in the pattern. When you are trimming your seam allowance in this step, do not trim where the strap connectors are placed as you want that extra bit to be sewn when you top stitch. It re-enforces it for strength and wear!
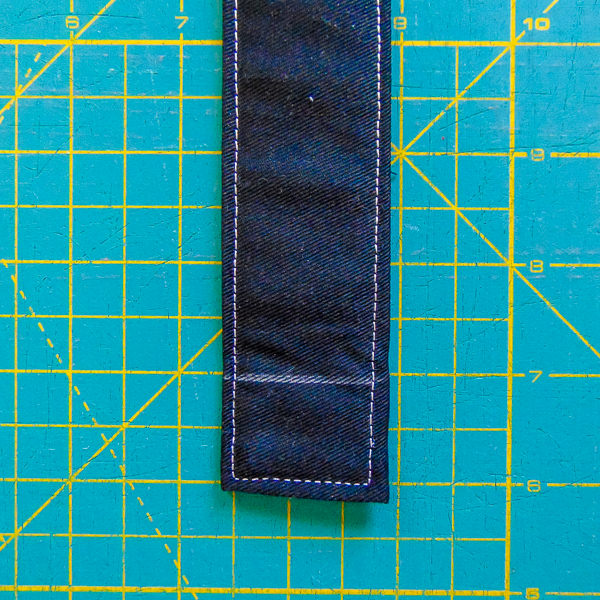
For your strap we again will be following the “Create a Handle or Strap” tutorial. Fold long sides into middle, fuse the interfacing down the middle. At the short edge, fold up the raw edge ¼” (0.6cm) and press to hide it inside. Re-fold your strap and top stitch around the edges with an 1/8″ (0.3cm) seam allowance.
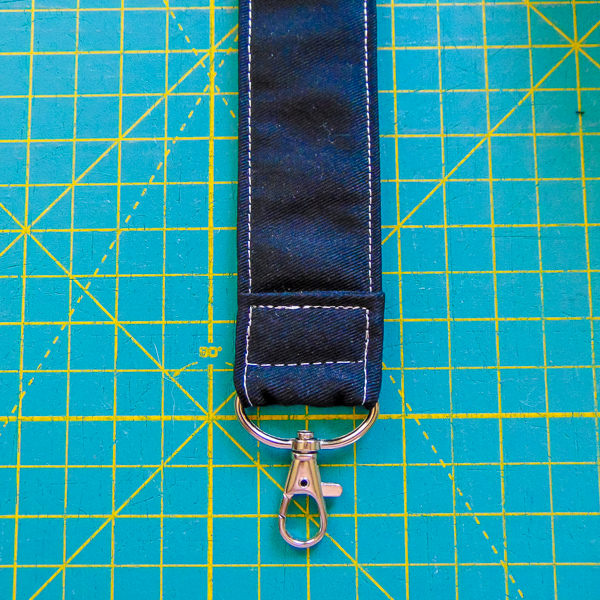
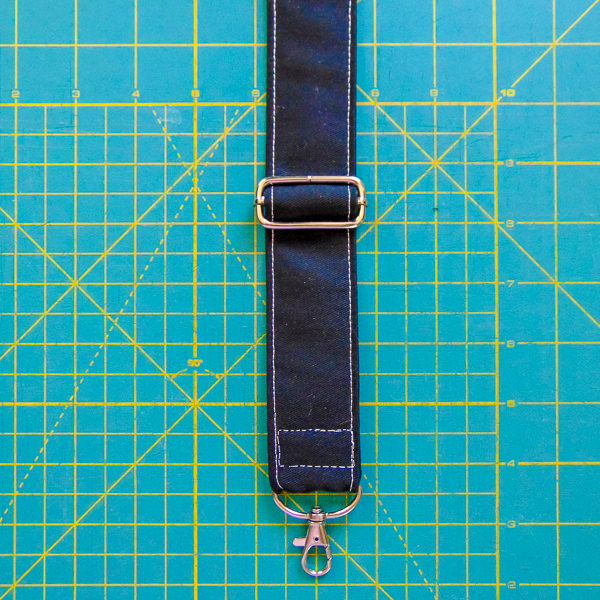
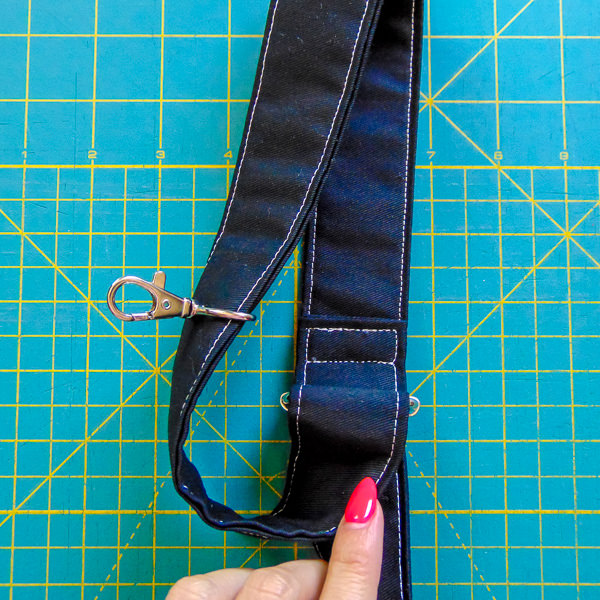
On one end of your strap, mark a spot 1″ (2.5cm) up. Slide your swivel hook on and fold over at that line. Top stitch 2 lines or a box to secure the swivel hook in place
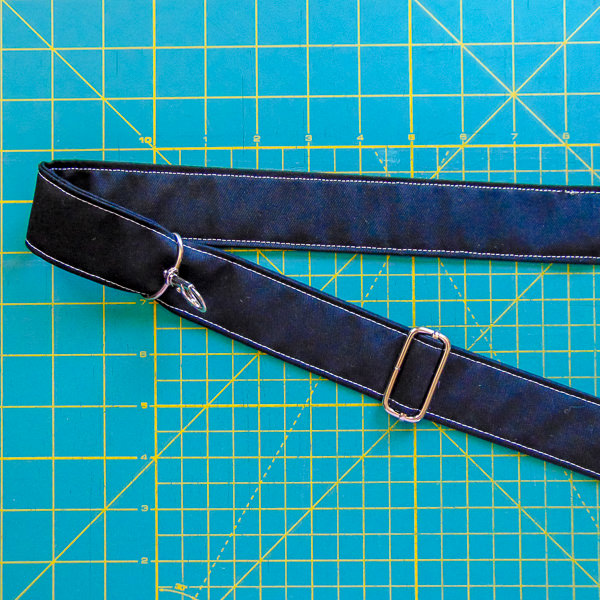
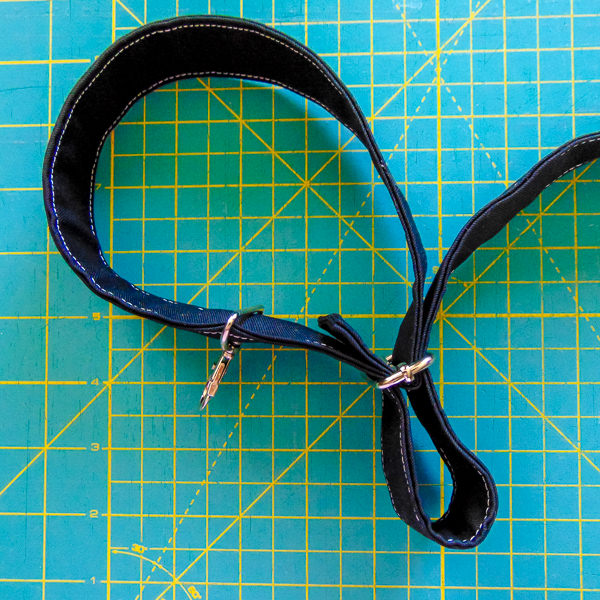
With your swivel hook facing you, slide on your adjuster. If your adjuster has a line split in it like mine, have it facing AWAY from the swivel hook already attached. Slide on the other swivel hook.
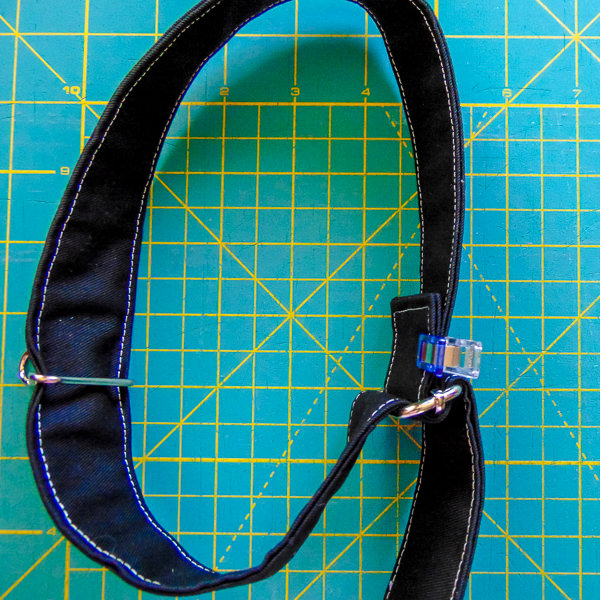
Take the end of your strap and slide it into your adjuster following the the side the has the swivel hook sewn on. clip the end in place. Sew 2 lines to secure the adjuster in place. Re-enforce it by going over the ends a couple times.
Your strap is now done and you can attaach it to your bag!

I’ve quickly become obsessed with this pattern. I just love how easy and slouchy it is! Plus, I love playing with fabrics so the possibilities of combinations are endless!

Are you ready to add an adjustable strap to your next tote? I am already planning my next one and I cannot wait to get sewing!
-Aimee
The Little Bird Designs
P.S. For those curious, the main fabric from this bag is “When Sparks Fly” by Libs Elliot purchased at Friday’s Off Fabrics!

