Pattern Hacks
Layla Trifold Hack
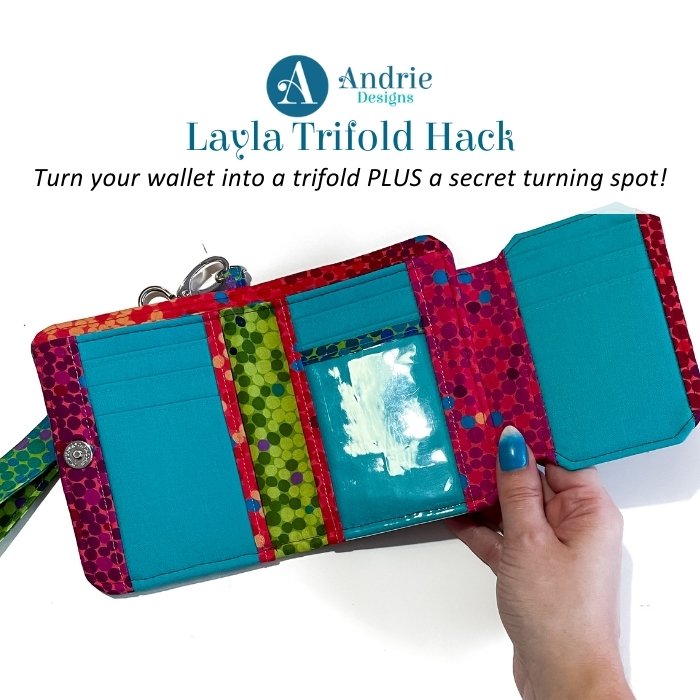
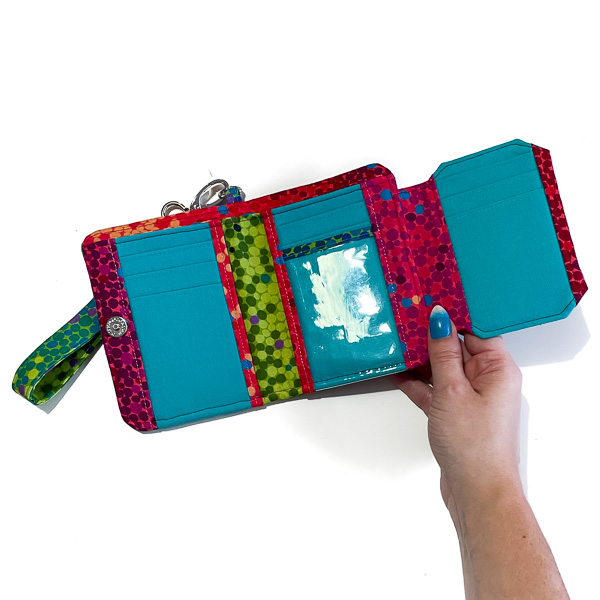
Hi bag makers! Can you believe it? We have another pattern hack for the Layla Essentials Purse! This one has been on my mind since the pattern was released! Not only am I showing you a new spot to place some card slots but I am also sharing another way to turn Layla! Make sure you read all the way through this one so you catch all the tips and tricks! Let’s go!
Not familiar with the Layla Essentials Purse? Find the PDF Pattern or Comprehensive Video Class in the shop!
For this version of the Layla Essentials Purse, you will need the following pieces:
- Your Main-Outer piece without the magnetic snap attached
- Your Card Slots front and back completed
- 2 – Notes Pocket – Outer & Lining pieces cut and ready to go
- 2 Centre Side Panels cut with interfacing fused
- Centre Card Slots sewn to CENTRE Card Slots – Joining Panel
- CENTRE Card Slots – Side Panels pattern piece
- Fabric and interfacing for CENTRE Card Slots – Side Panels but NOT cut out
- Small Magnetic Snap 1/2″ (14mm) (Extra slim ones are best for this hack if you can use them!)
- 2 pieces of peltex cut at 3/4″ x 1″ (2cm x 2.5cm)
- Wrist strap done if desired

For this Layla, we are going to place the entire center card slot pieces in a different spot so because of this, we will change the piece we use for the Notes Pocket – OUTER piece. We don’t need it to have a seam, so instead, you will need to cut a second Notes Pocket – LINING out of fabric and interfacing! DO NOT BASTE in place yet!
Note – You will still need the Notes Pocket – LINING without the interfacing for Step 12 in the pattern!
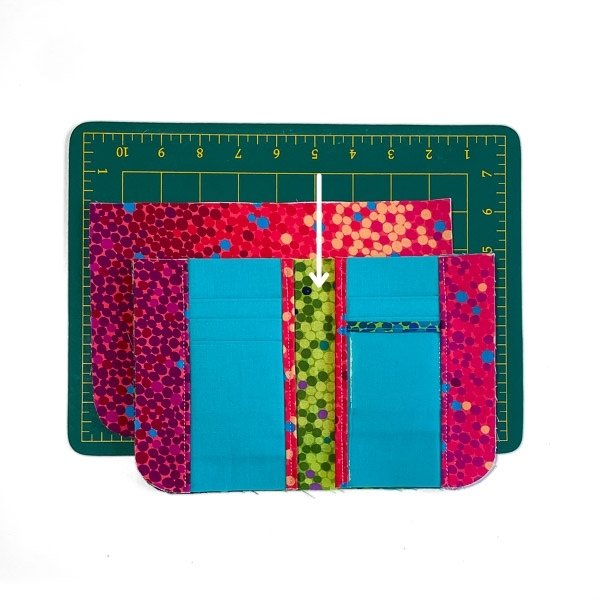
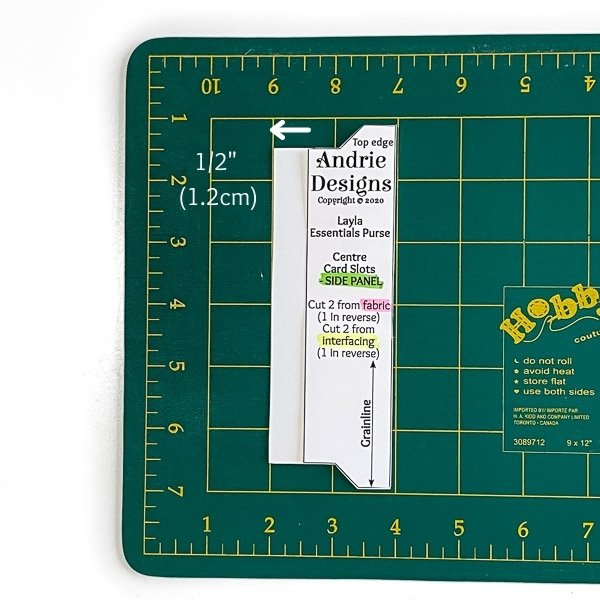
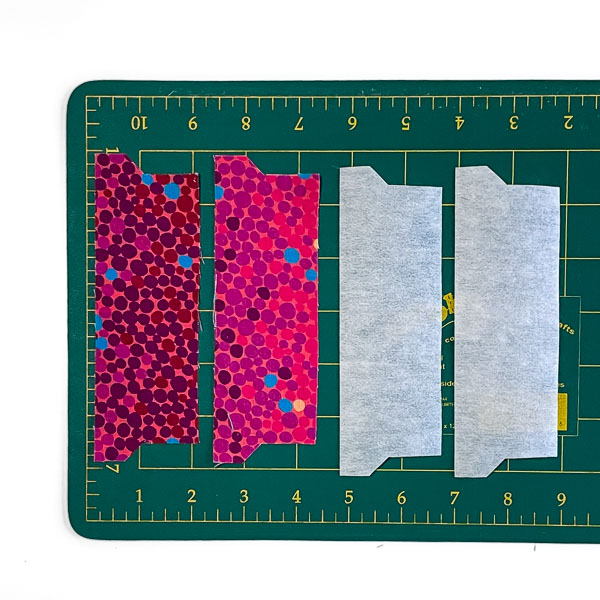
Before we do anything, we need to add some width to the CENTRE Card Slots – Side Panels. Add 1/2″ (1.2cm) to the shorter of the long edges. Cut this new wider piece out of your fabric and interfacting.
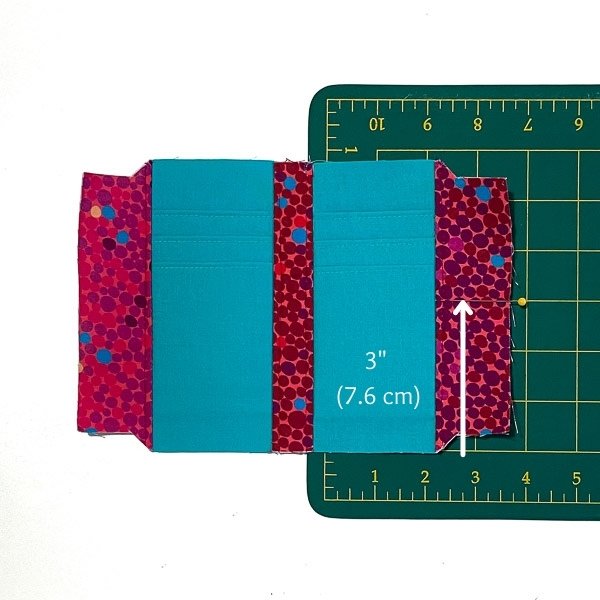
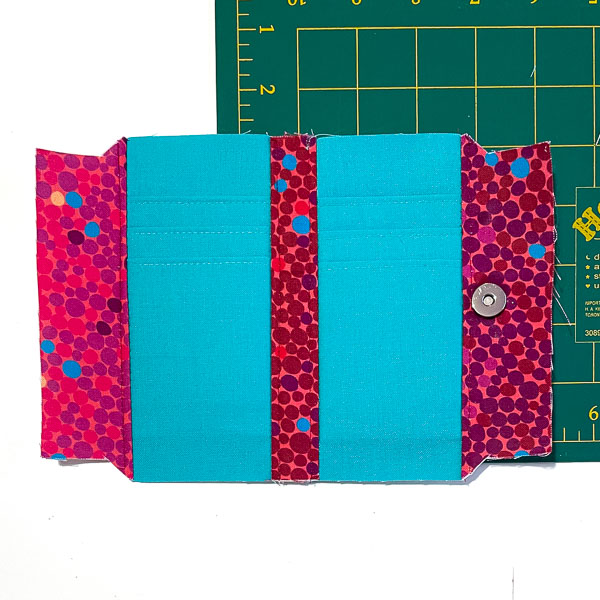
Sew CENTRE Card Slots – Side Panels onto the centre card slots as per Step 9 in pattern to have a piece like this:

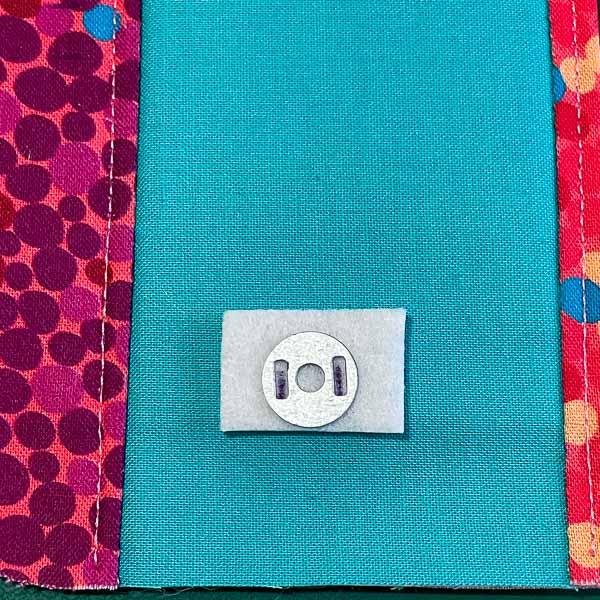
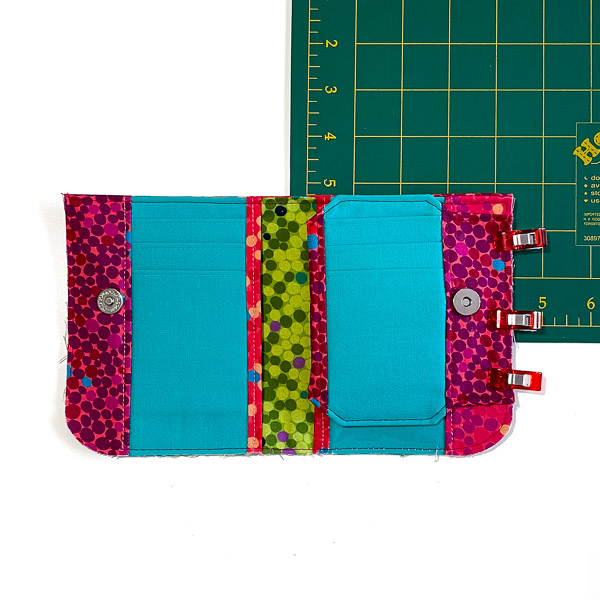
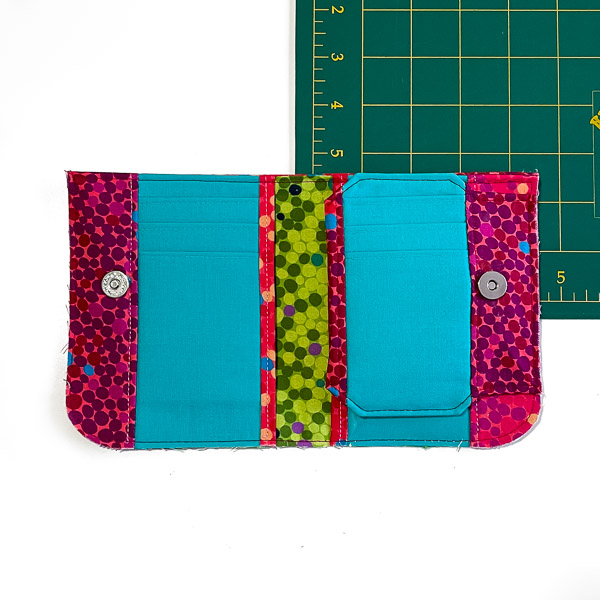
We are placing the “female” side of the magnetic snap on the right side of the centre card slots on the right CENTRE Card Slots – Side Panel. Measure 3″ (7.6cm) up from the very bottom edge and 5/8″ (1.5cm) out from the edge of the card slots. When you are marking your peltex, put your washer guide at the very edge so it does not interfere with the card slots!
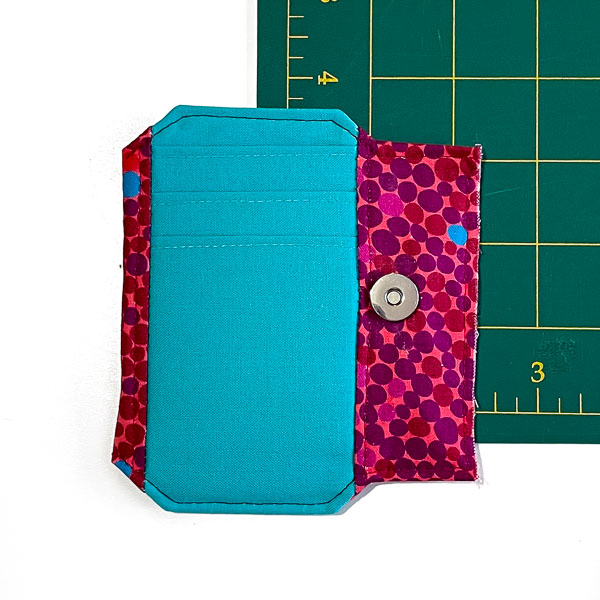
Add the magnetic snap and complete the centre card slots as per Step 10 in the pattern.
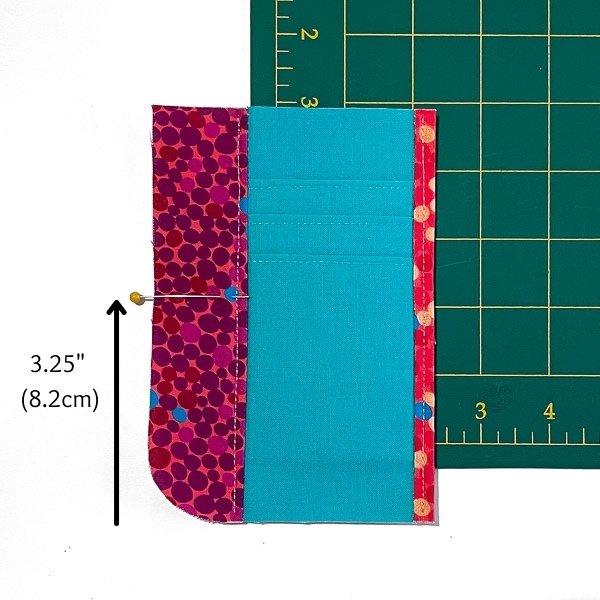
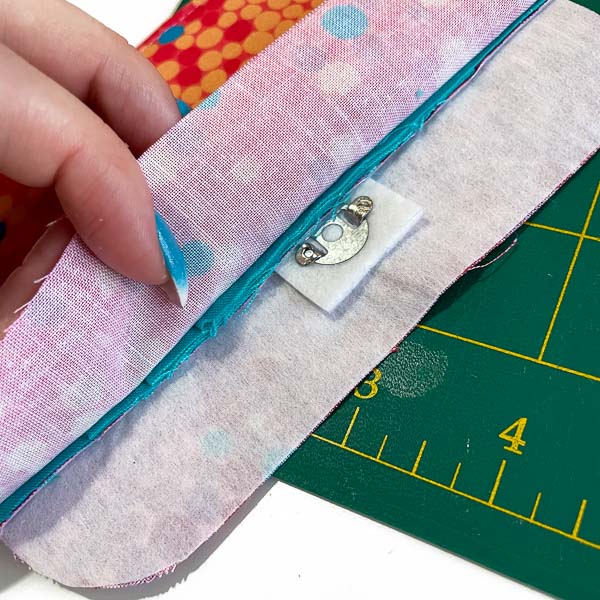
For the “male” side of the snap, it will be placed on the LEFT Card Slot – Side Panel. Measure 3.25″ (8.2cm) up from the very bottom edge and 1/2″ (1.2cm) out from the edge of the card slots. Remember, when you are marking your peltex, put your washer guide at the very edge so it does not interfere with the card slots! ONLY cut through the LEFT Card Slot – Side Panel when you are adding your snap! DON’T cut through the LEFT Card Slot – Lining Panel!
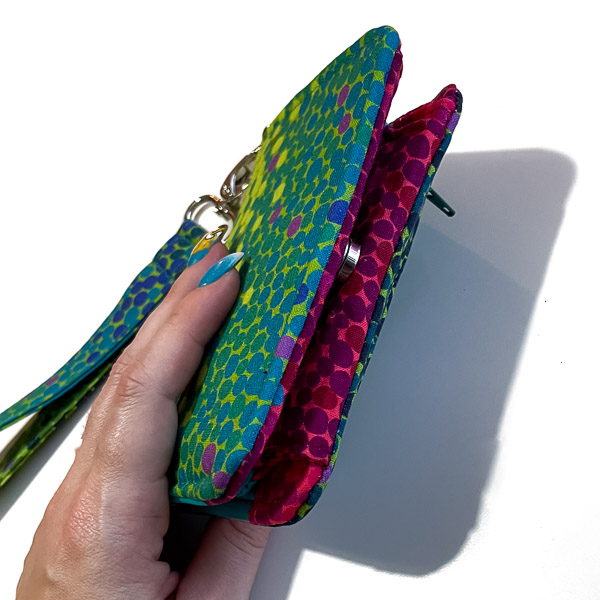
Once the magnetic snap is added, tuck it under the seam of the card slots so the LEFT Card Slot – Lining Panel lays smooth!
Place on top of one of the Notes Pocket – LINING and complete as per Step 12 in the pattern. (Ignore info about centre card slots because they are not there!)
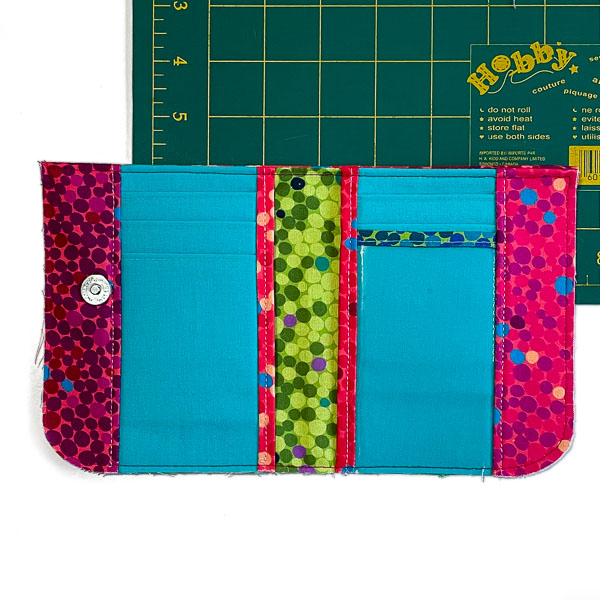
Place the centre card slots at the right edge of the RIGHT Card Slots – Side Panel. Lining up the top edges and baste in place
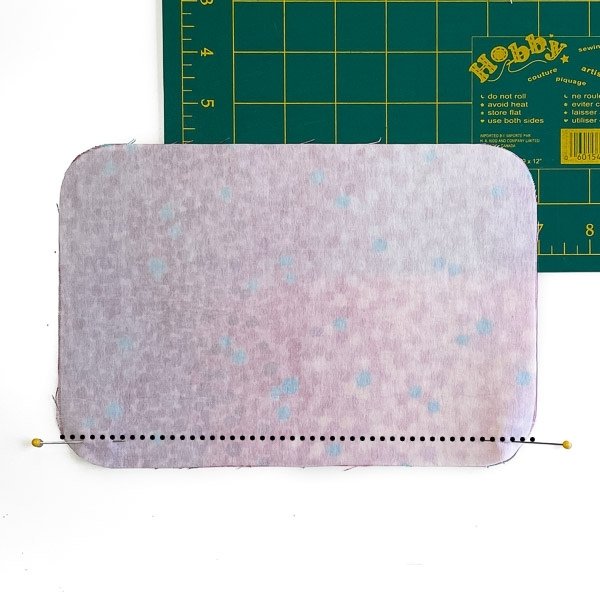
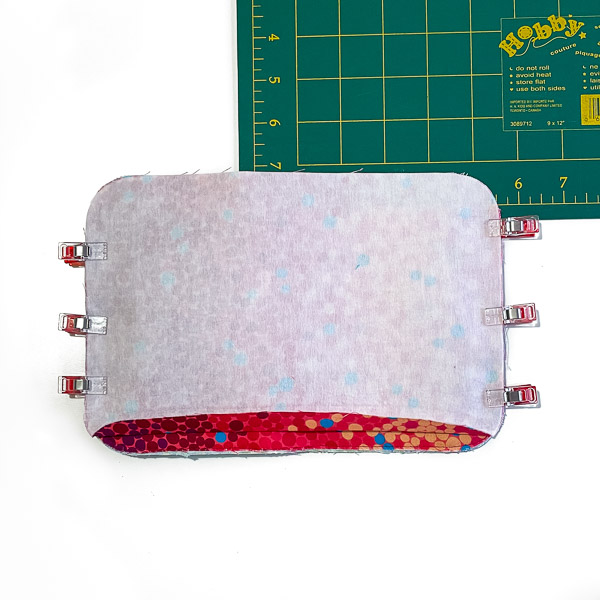
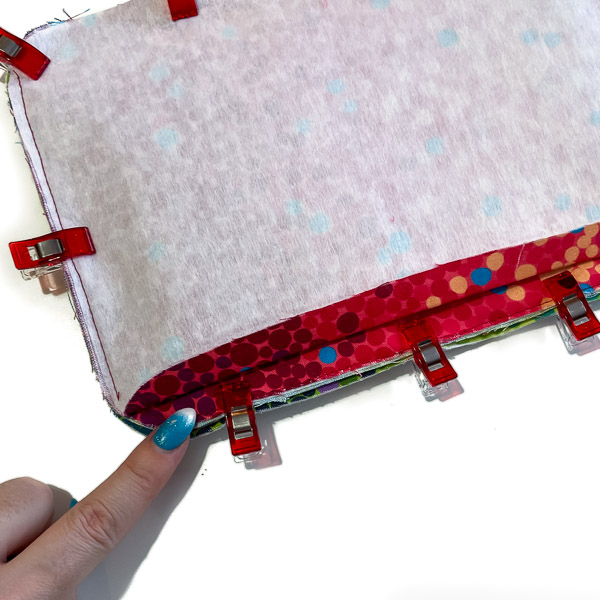
Before we move on let’s prepare the Main Lining Panel for an easy way of doing the final turning. Measure 1/2″ (1.2cm) up from the bottom long edge and fold. Press really well so it stays folded during sewing.
Place the finished Main Lining Panel on top of your finished card slots and baste the side edges.
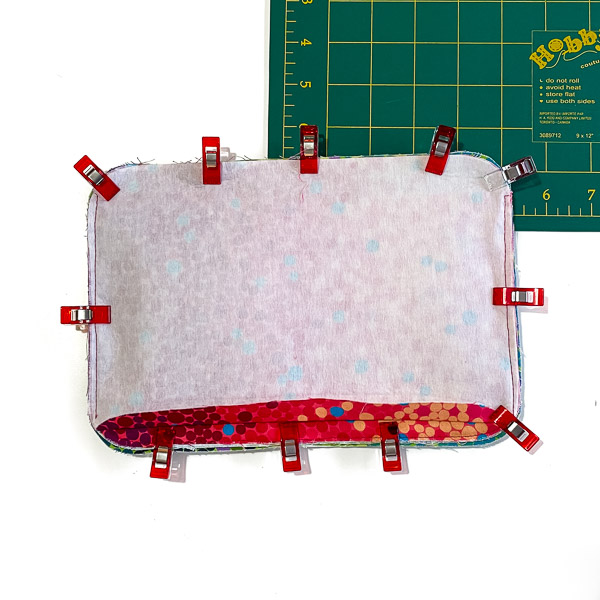
Place on top of your finished outer piece and sew with a 1/2″ (1.2cm) seam allowance around. Make sure not to catch the fold in your seam.
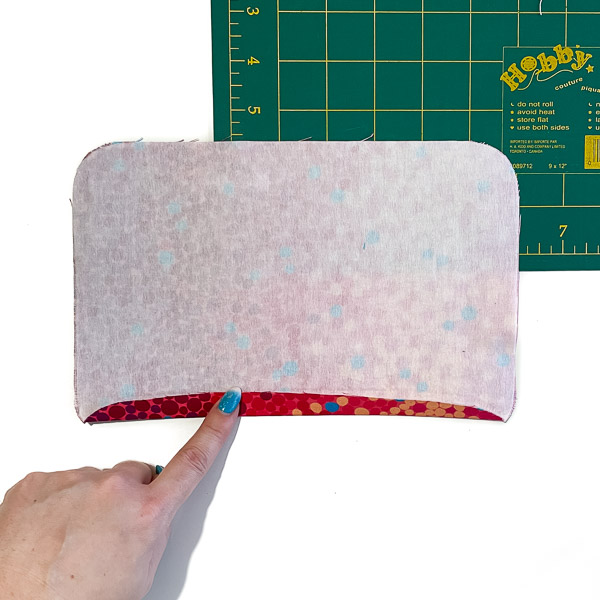
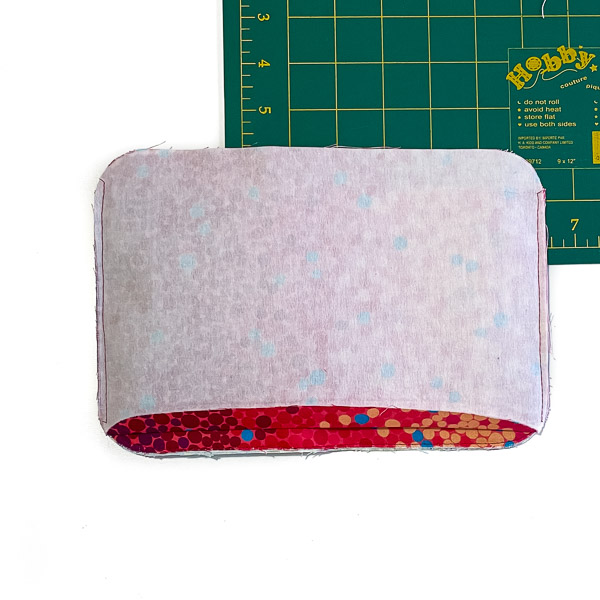
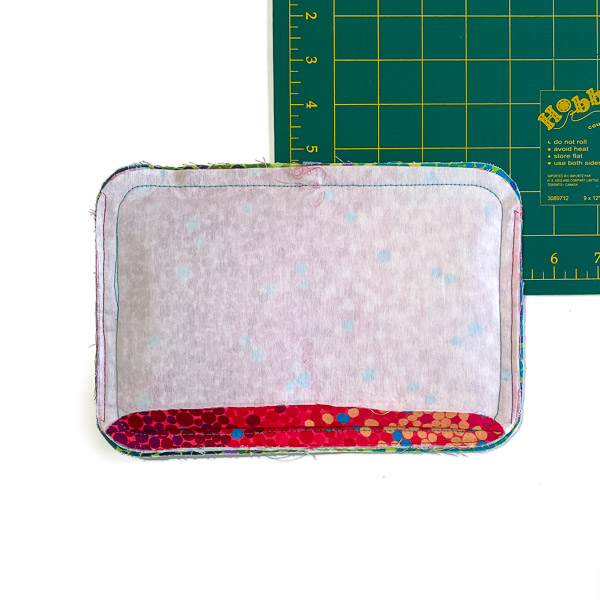
Using that wide-open spot, turn your wallet. At first, it will look like this:
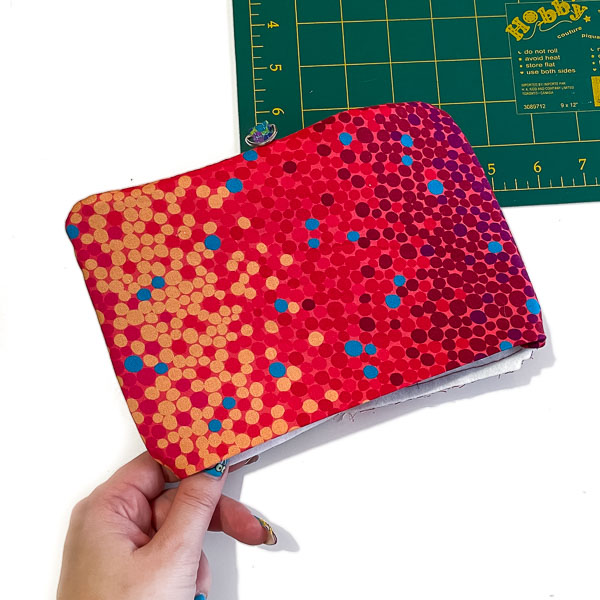
Then give one final turn to have it look proper! Before you give it a press, look inside the notes pocket. make sure that the “fold” is covering any exposed seam raw edges.
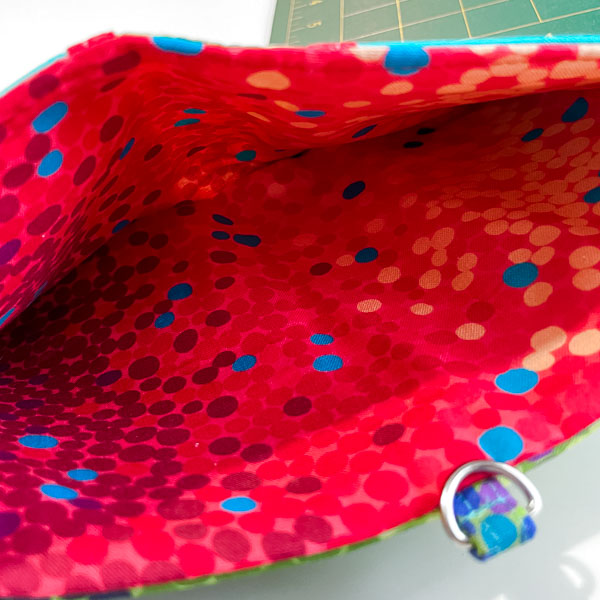
Press your new Trifold Layla well!
At this point, you will topstitch BUT make sure you are topstitching on the LINING SIDE. That snap is really close to the edge so you want to see it as you’re sewing so you don’t break any needles!
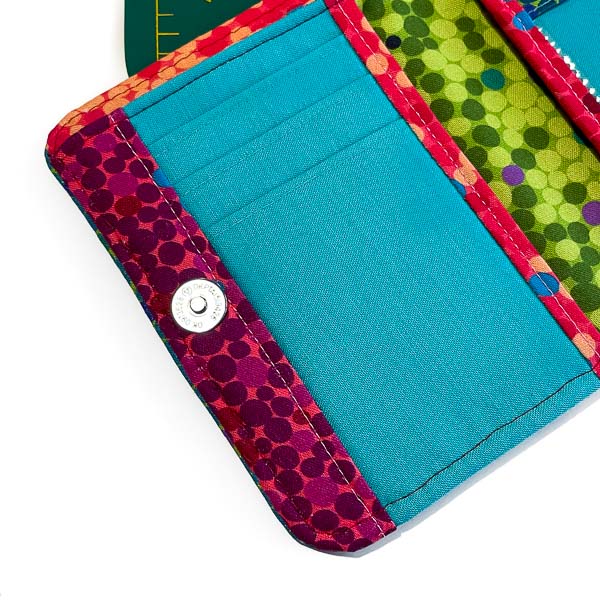
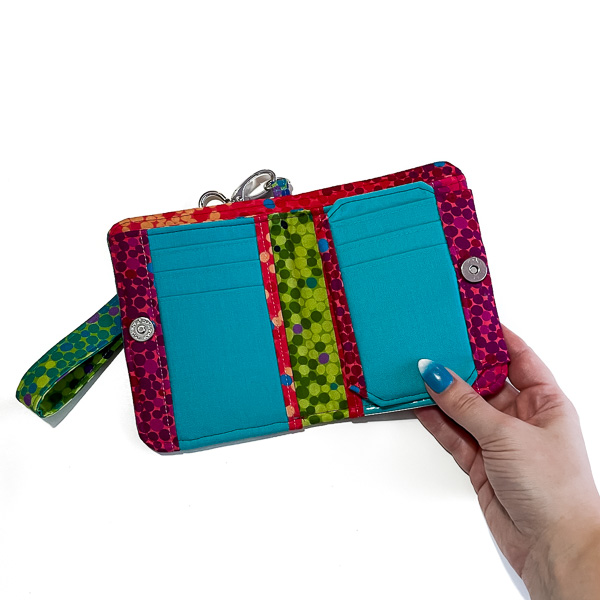
Give it all a good press and enjoy your new wallet!
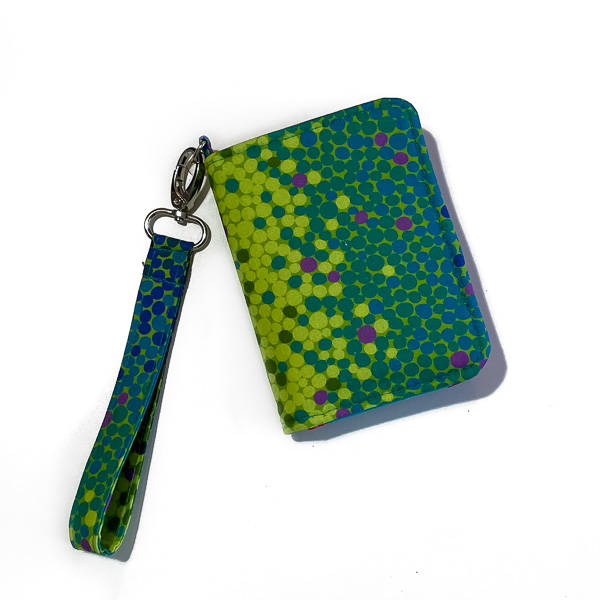

If you take a peek inside your notes pocket, you will see that the topstitching has caught the open seam and has sewn it shut!
*If you have a spot that didn’t catch, place a dab of glue in place to seal it up!*
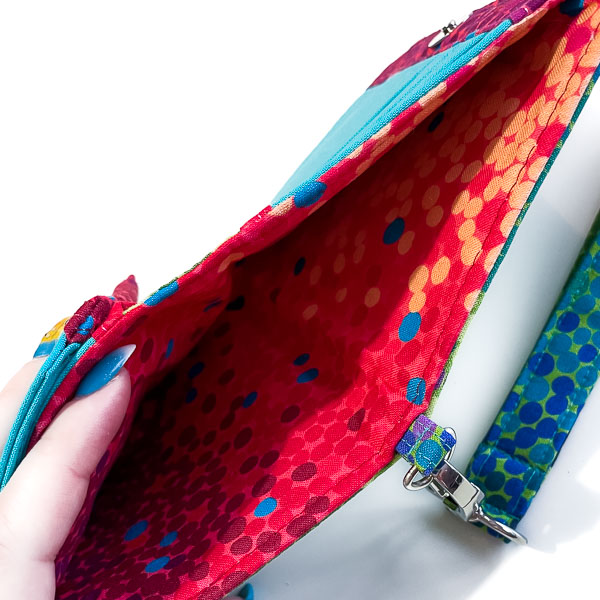
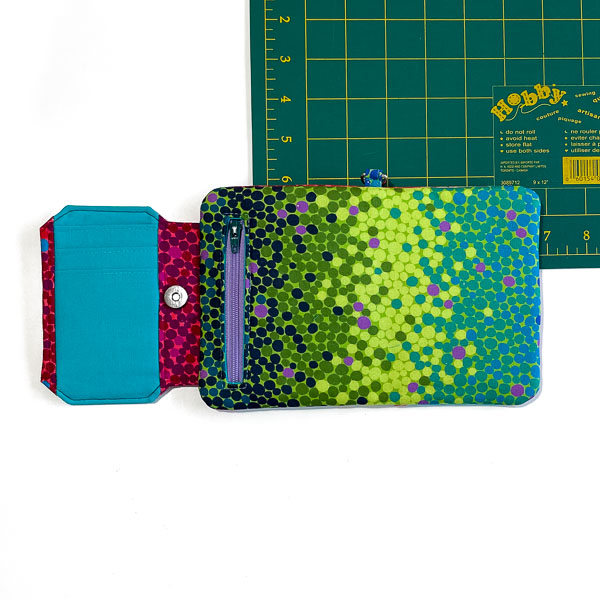
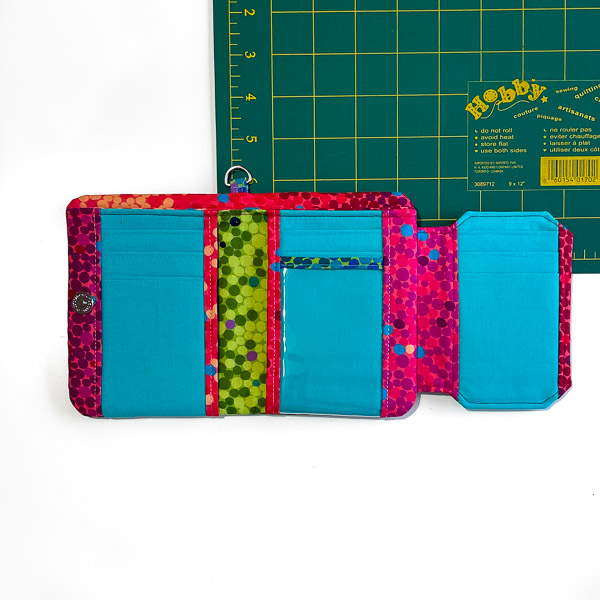
Now you have a fun and new way to not only turn your Trifold Layla but a new way to place your cards!
Extra note! If you still wanted to have the flap, you totally can do so! It would be an excellent option if you are worried about catching the snap in your topstitching!
Ready to give this fun little hack a go? Once you do, pop on over to the Andrie Designs Patterns Group on Facebook and share with us so we can see your pretty creations! If you want to see the rest of our Layla pattern hacks, head to the Layla Hacks, Tips & Tricks! post for more!
Happy sewing

