Pattern Hacks
Cleo Gets Zipped!

Welcome to another blog post and my gosh have I got an AMAZING pattern hack for you today!!! This hack is something many of you have asked for and, thanks to the super talent that is Aimee from The Little Bird Designs, it is now brought to life in a step by step tutorial so you can have a go at it yourself!
What am I talking about?! Why, replacing the flap on the Cleo Everyday Wallet with a full zipper closure of course! I am sooooo excited about this hack and have to agree with Aimee that this is possibly my MOST favourite hack of any of my patterns thus far!!! EEK!!!
Not familiar with the Cleo Everyday Wallet? Not to worry! You can find the pattern here.
This hack, let me tell you, just might be my favourite! I was so excited to hear a few people ask if something like this was coming and you better believe I was all over it when Lisa asked me to help out! You will love your zipped Cleo Everyday Wallet so much! Make sure you read through each step before stitching or cutting anything! I also recommend keeping your work sitting the same way as the tutorial for your first one!
To add a zipper to your next Cleo Everyday wallet, you will need:
- The Cleo Everyday Wallet pattern which you can find here.
- Your finished Cleo outer and lining (but no flap!).
- A 24” (60cm) #5 zipper (you’ll have about 4″ (10cm) excess but trust me, you will want this for your first one!). See below for information on exactly which type of zipper you need.
- Wonder clips and LOTS of them!
- Tape measure
- General sewing supplies

NOTE: We need to use a #5 zipper with NYLON teeth! Do not use a zipper with plastic teeth as it will not go around the corners smoothly (they don’t operate as nicely on round edges). Also, a regular #3 dress zipper is not wide enough. Make sure you spend a little bit extra and get a really good zipper, I promise that it is worth it!
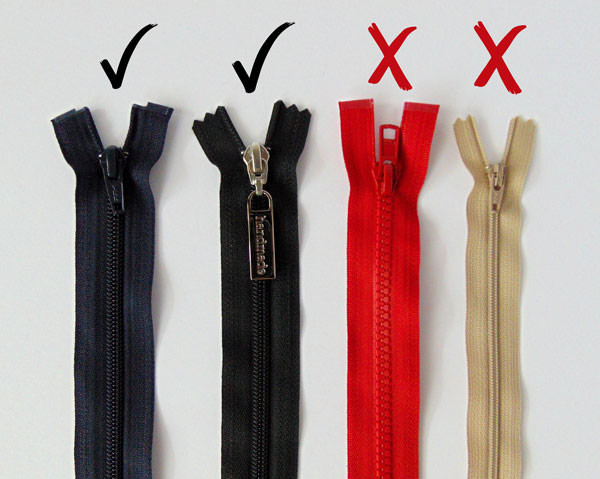
Let’s begin!
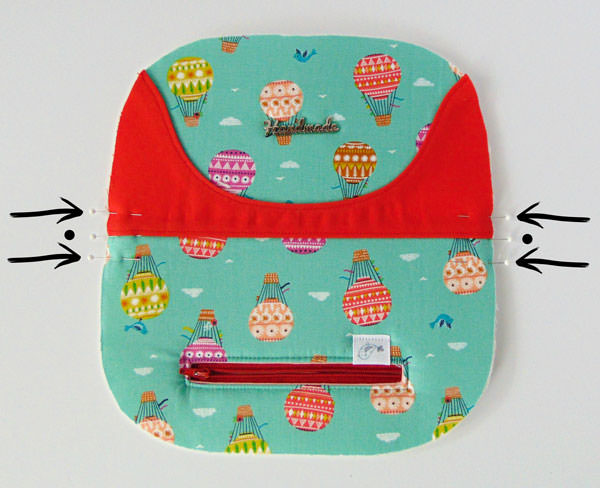
First, mark the centre points on the sides of your exterior. This happens to be right where the Front Outer Panel – Bottom piece lands! On either side of that point, mark with a pin 5/8″ (1.5cm) out on either side. Open your zipper pocket and keep it open until the very end!
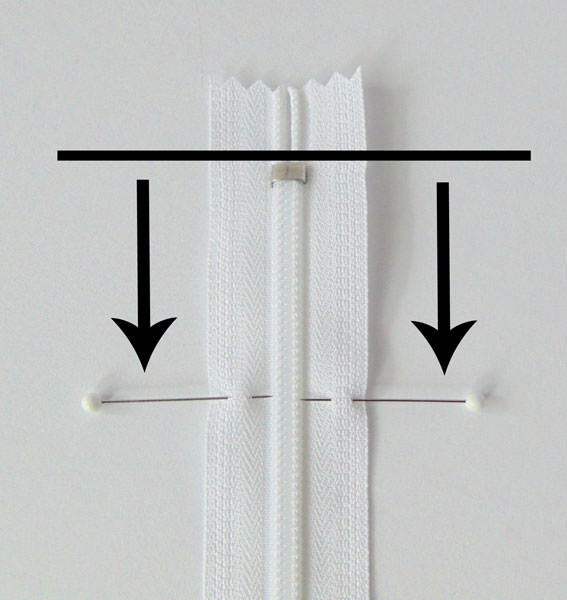
At the end of your 24″ (60cm) zipper, mark 2″ (5cm) down from the metal stopper. Make sure you mark on both sides of your zipper so everything lines up in the end!
Open your zipper and place that 2″ (5cm) marked point right sides together with the outer. The 2″ point will line up with your 5/8″ (1.5cm) mark. Clip in place.
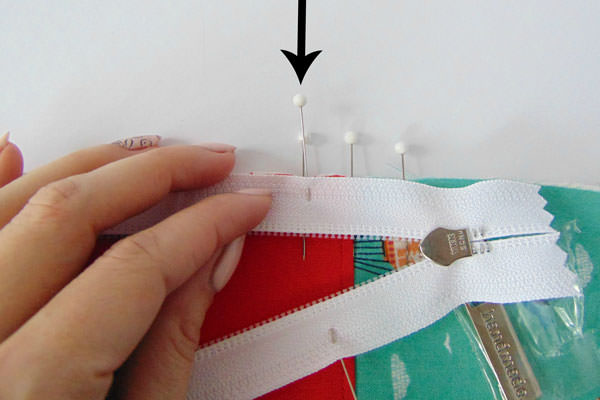
Now we can clip the zipper around the first half of the outer. When going around the corners, ease but do NOT stretch the zipper. Place one clip at a time and it will go around better than you would expect! Baste using a 1/4″ (0.6cm) seam allowance, starting and stopping at the arrows – the 5/8″ (1.5cm) marks you made earlier.
Make sure you are using a thread that is the same colour as your zipper in case it shows when you are finished!
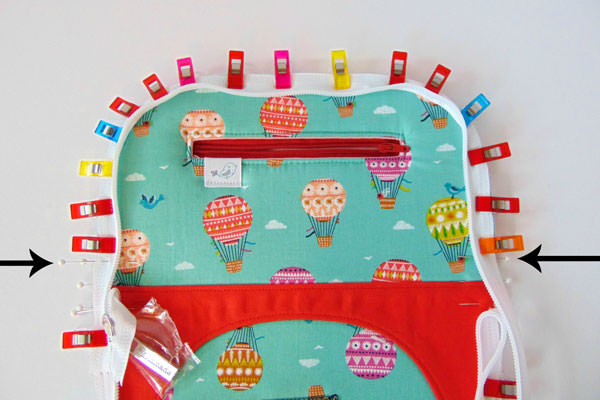
Tip: When you are going around the corners of the zipper, squash it down with your fingertips/nails to move it out of the way (much easier!).

Looking good already!
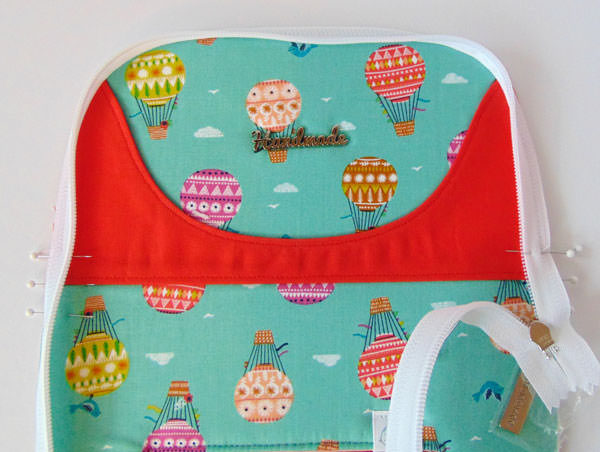
Let’s do the other side! Clip your zipper pull out of the way and again line up the 2″ (5cm) mark on the zipper with the 5/8″ (1.5cm) mark on the outer. Ease the zipper in place, clipping as you go. Make sure to start and stop your stitch at the arrows (5/8″ (1.5cm) mark on outer). Baste using a 1/4″ (0.6cm) seam allowance.

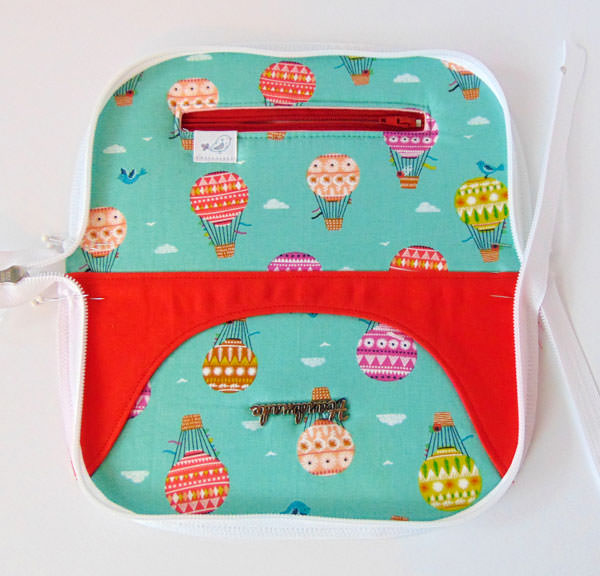
You’ll now have an outer that looks similar to this!
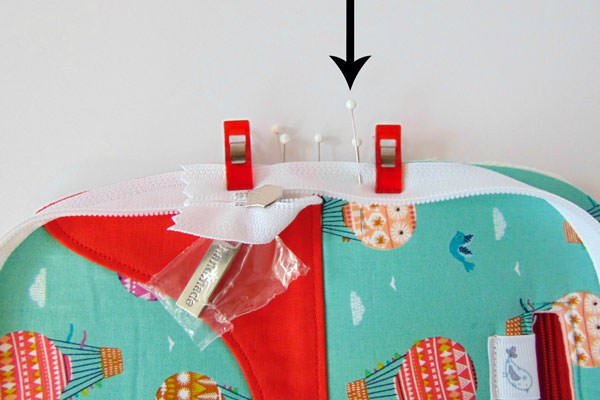
Take those excess zipper ends at the open end of the zipper and fold them out 90 degrees. You want the zipper teeth to be lined up with your centre point (bottom edge of the Front Panel Outer – Bottom).
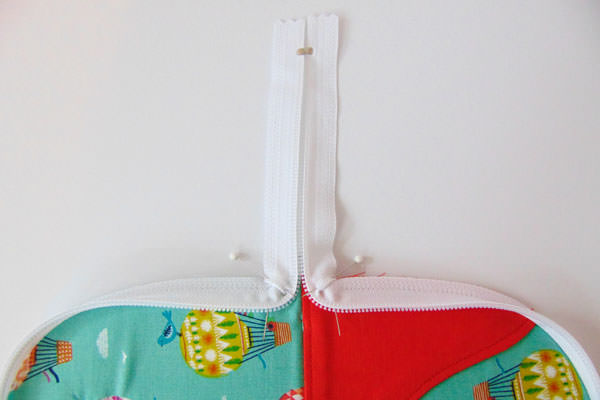
DO NOT do this to the closed end of the zipper. Instead, curve the zipper tape out and away from the edge of the outer panel.
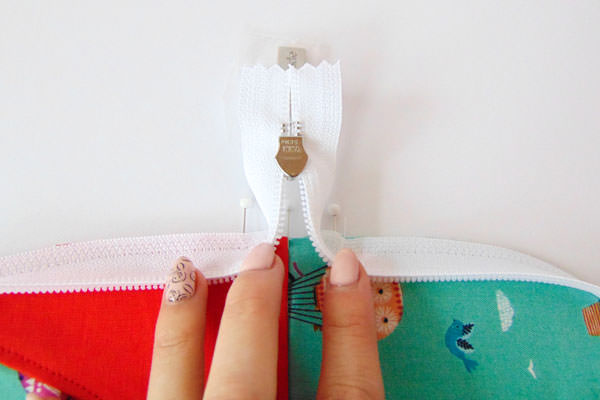
Place your lining right side together with the outer. Match centre points along the sides first.
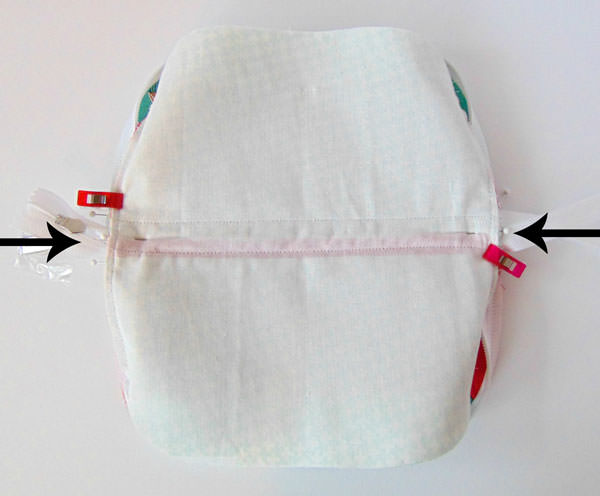
Gently ease the lining into place. This uses a lot of clips (I ran out and used some binder clips!). Try your hardest to not stretch the lining as you clip.
You will start sewing at the TOP arrow and finish at the BOTTOM arrow. DO NOT stitch across the closed end of the zipper where the zipper pull is or it will be sewn shut! You WILL however, stitch across the open end of the zipper where the excess overhang is.
Stitch to attach using a 1/2″ (1.3cm) seam allowance.
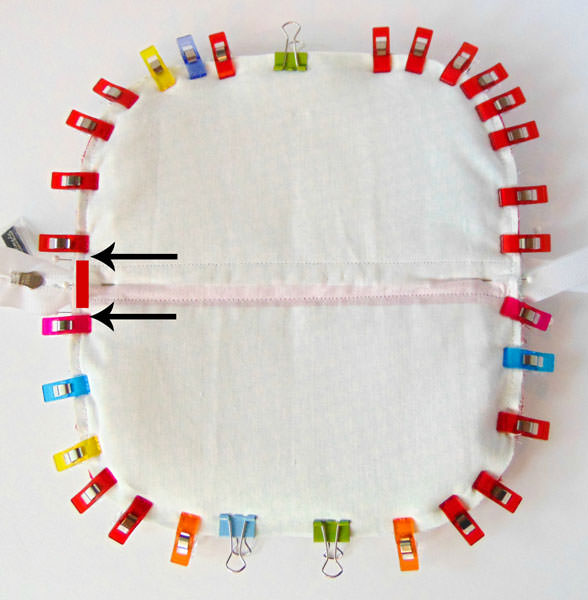
This is what your piece should now look like!

To get everything to lay flat, we need to clip the excess foam away first. Trim the sides with the wings and snip the corners (I like to use my pinking shears!). Cut the loose, open zipper end off leaving a 1/2″ (1.3cm) overhang from the edge of the fabric. Leave the other side with the zipper pull as is for now!
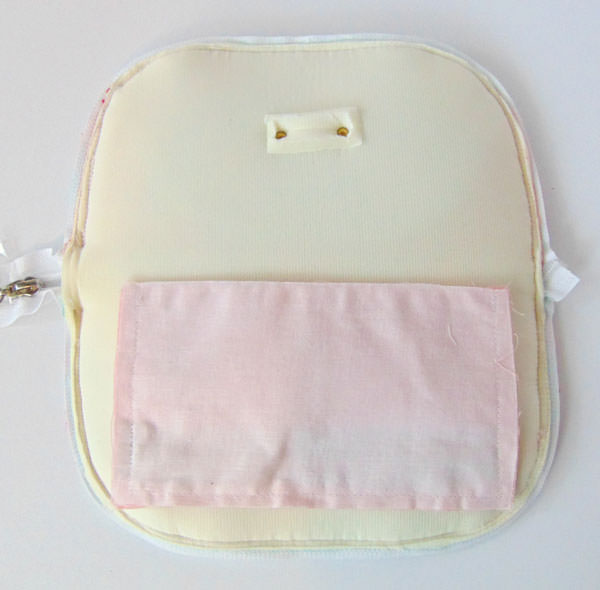

Turn that baby through your pocket and give it a good press. If you curl the zipper up it will be easier to not only press but sew! Make sure your iron does not touch your zipper or it will melt and you will be very, very sad! (Ask me how I know? LOL!).
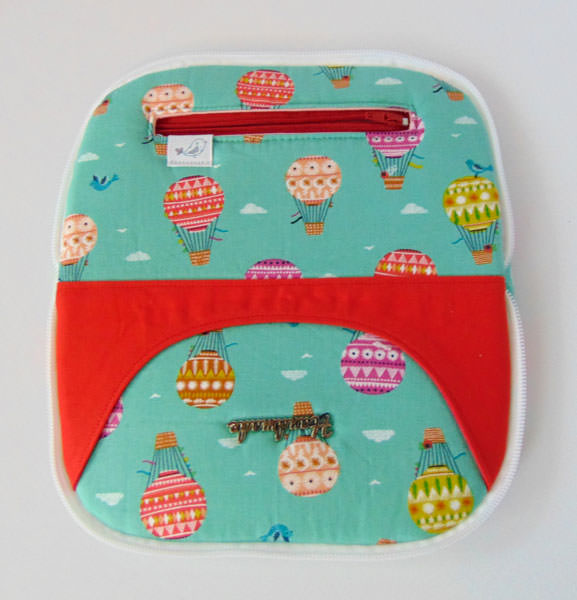
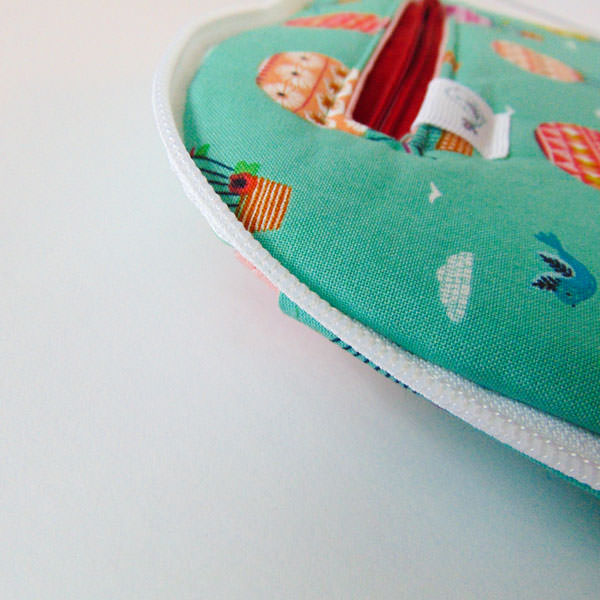
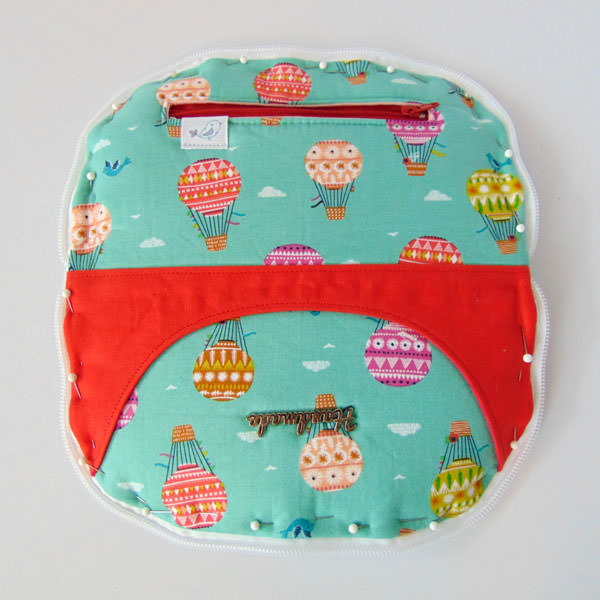
Top stitch the outer edge as directed in the pattern (step 26, page 9), however start and stop top stitching 1/2″ (1.3cm) out from the centre point on the side that has the gap for the zipper pull to pop out (i.e. the side that has the closed end of the zipper). Give it a good press once finished.
A small tip from me – pin everything flat before doing top stitching! This helps you pull everything away from the zipper to make it nice and smooth prior to stitching. It also holds the wings down so they don’t wiggle out as you sew.
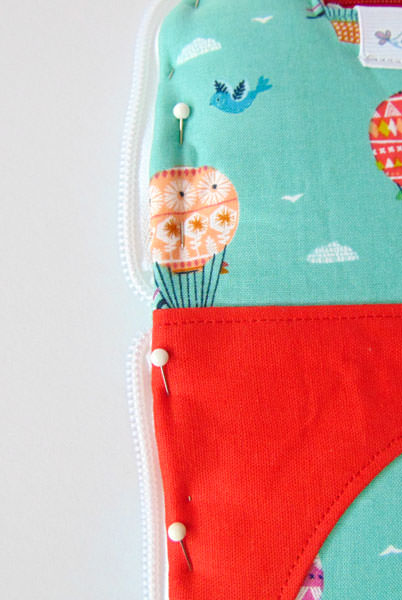

Reach inside your open pocket and push the zipper pull out the gap. It’s a little fiddly so be persistent! Only pull it through enough so that you see the pull, any further and it will start bending weird for the next step!

Once you pulled the zipper pull out, reach into the pocket and clip the metal end of the zipper off. Only trim approximately 1/2″ (1.3cm) off.
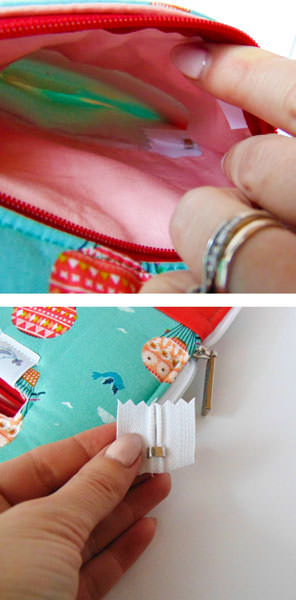
Follow step 27 (page 10) of the pattern to create the base of your Cleo. I also like to stitch an additional row along the centre bottom of my Cleo’s as well.
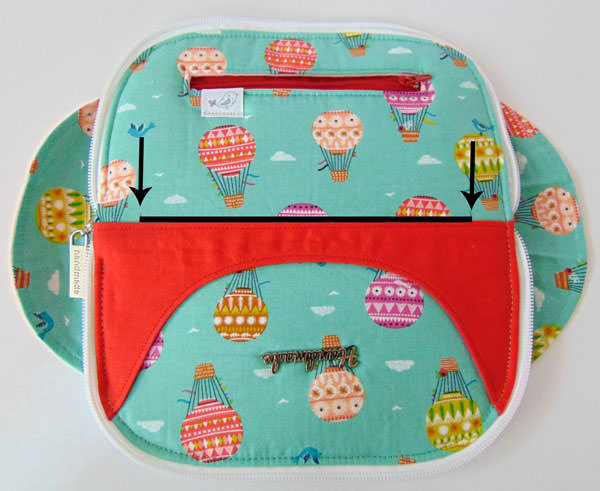
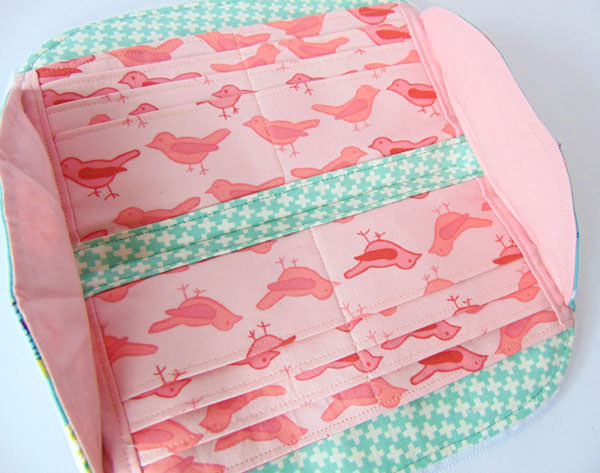
We can finish up the wings now as per the Cleo pattern (step 28, page 10). (I promise that top stitching line is actually straight, the fabric pattern is playing tricks on our eyes!)
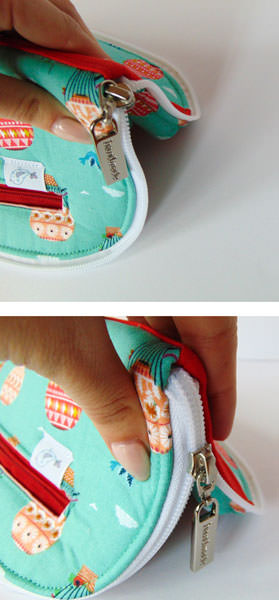
To get the zipper pull out and zipped up, squeeze the wallet and gently pull it. It will only take a little effort but then you can then pull that zipper all the way around!
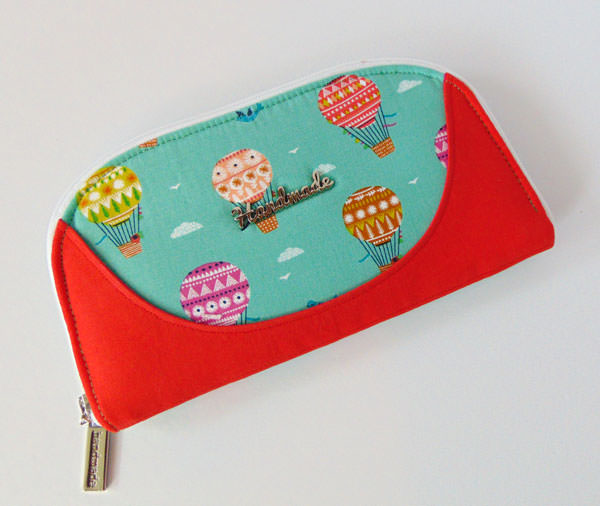
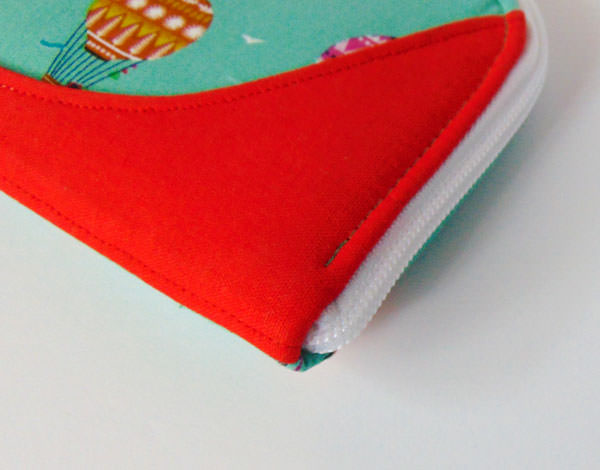
Time to give your wallet a good press, stand back and admire your shiny, flap-less Cleo! Isn’t she pretty?!
I like putting a little handmade label on the front as the star of the show!

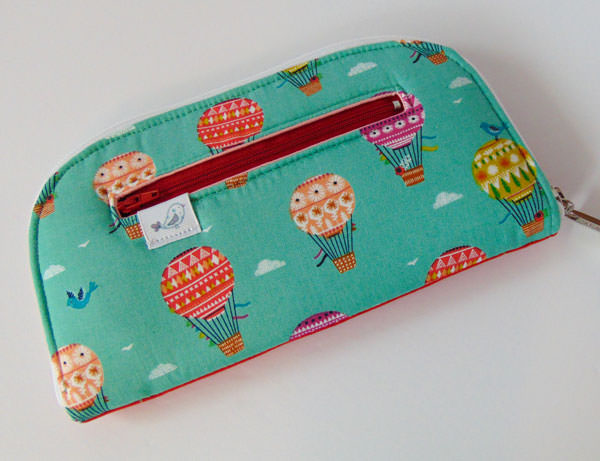
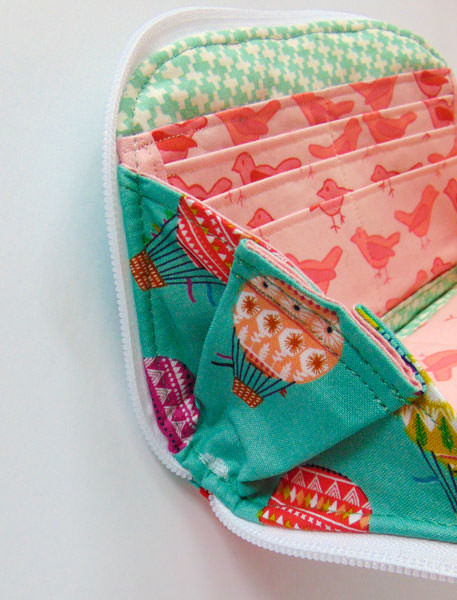
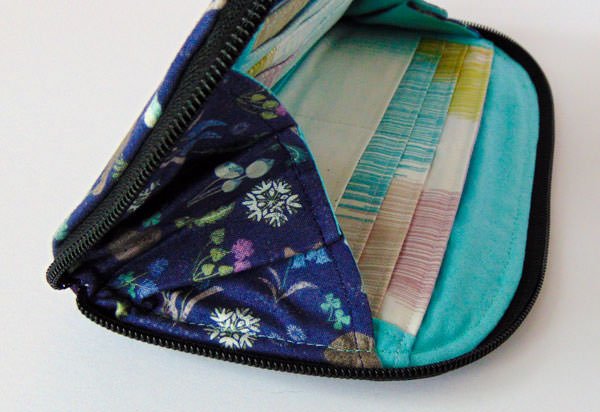
There’s so much room in this little lass that you will be able to stuff everything you need inside!
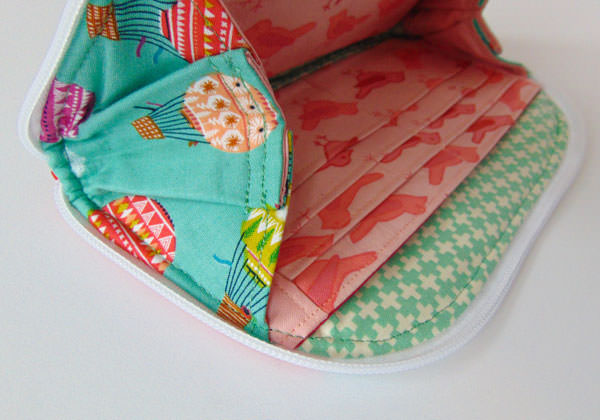
I can’t wait to make so many more zipped Cleo’s!!
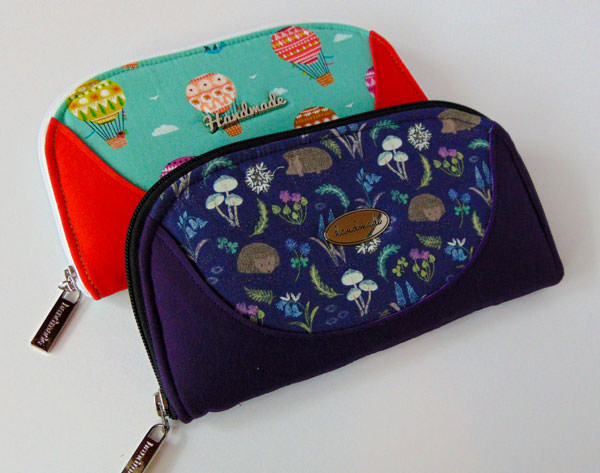
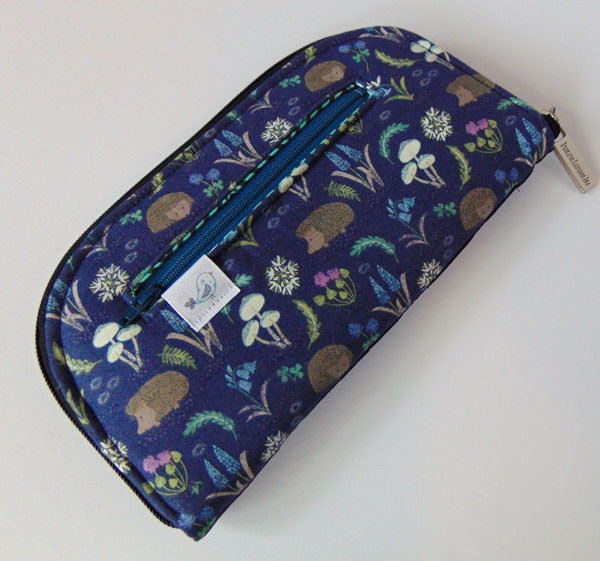
Hot Tips!
- If you find the fabric you are using is a little heavy, omit the interfacing in the wings. It will make top stitching much easier!
- If you are attaching a handmade label some kind, centre the middle of the label 2″ (5cm) up from the curve and it will end up perfectly centred like mine!
- If you find the 1/2″ (1.3cm) seam allowance is not giving your zipper enough room to zip, feel free to make it a tad smaller. All fabrics react differently to curves!
- The side where the zipper pull comes out – if you feel it’s necessary, hand stitch that tiny opening closed or add a little bit of glue. I find that it is not needed but that is up to you!
Thanks for another fantastic pattern hack Aimee!!! As I said at the beginning, this is probably my most favourite pattern hack to date and can not WAIT to see Cleo’s popping up around the place with zipper closures instead of the flap!! I am thinking of making myself a new Cleo and may just have to try this hack myself…!!!
You can see more of Aimee’s amazing bags via any of her social media below –
- Website – www.thelittlebirddesigns.com
- Facebook page – www.facebook.com/Thelittlebirddesigns
- Instagram – www.instagram.com/lilbirdsdesign
You can find the Cleo Everyday Wallet pattern here.
Feel free to comment below and let Aimee and I know what you think of this Cleo hack!!
Until next time, happy sewing! Lisa x

YAY!!! Omg!!! This is AWESOME!!
Thank you so much Crystal!!! Enjoy!!! <3
Awesome! Can’t wait to try this out!!
Thank you Toni! Can’t wait to see your take on it!! 🙂
I love the zipper for this wallet – it’s so totally RIGHT with it’s neat shape!
“its…..” autocorrect got me!
Thank you so much Elizabeth!! 🙂
Great tutorial!
Thank you Carolyn!
Thanks for the tutorial.
Safe and secure. Could add a thin shoulder strap too!
No worries at all! And in case you haven’t seen it, we did a pattern hack blog post a while ago for adding a wrist strap/shoulder strap to it as well! You can find that hack here if you’re interested. Enjoy! 🙂