Pattern Hacks
Classic Clutch Contrast Hack
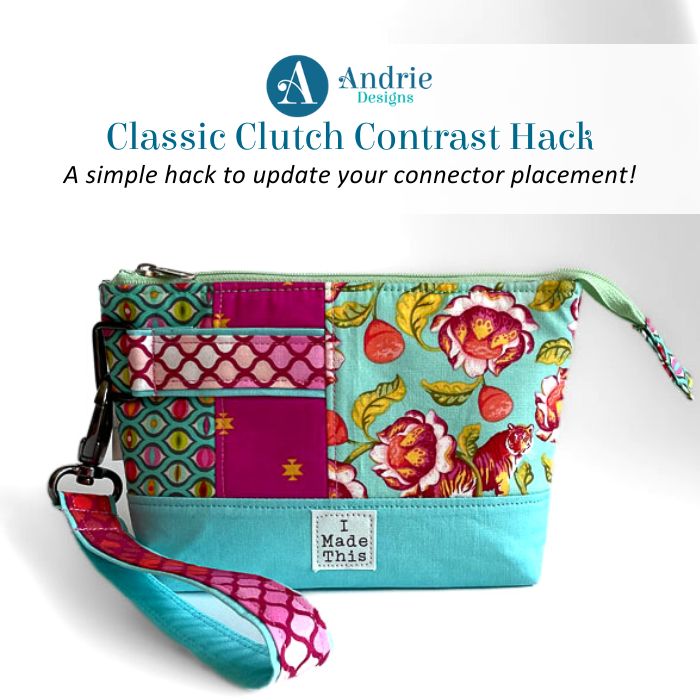
Hi bag makers! Today we are sharing with you a short and sweet pattern hack for the Classic CLutch. This little hack was originally shared in the Andrie Designs Patterns Facebook Group and now you can find it here! Read to see how to not only switch the side you strap connectors are on but also how to make them double sided too!
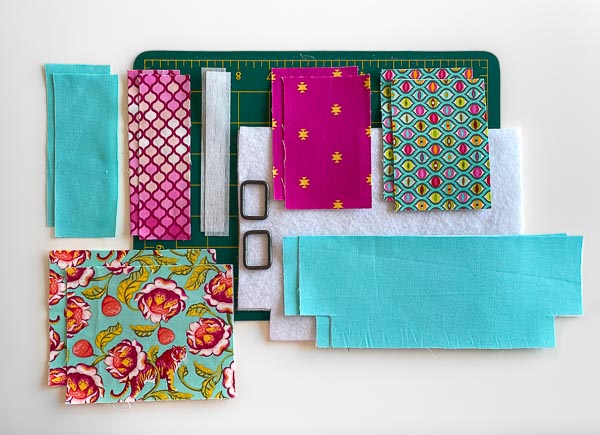
- Classic Clutch Pattern
- Lining completed or ready to be completed
- All pieces cust as per the pattern except the strap connectors
Cut the connector pieces as follows:
Mini Size:
- Bottom Fabric: 2” x 5 ¼” (5cm x 13.5cm)
- Top Fabric: 1 ⅝” x 5 ¼” (4.1cm x 13.5cm)
- Interfacing: 3/4″ x 5 ¼” (2cm x 13.5cm)
- Bottom Fabric: 2 ½” x 6 ¼” (6.5cm x 16cm)
- Top Fabric: 2 ⅛” x 6 ¼” (5.4cm x 16cm)
- Interfacing: 1” x 6 ¼” (2.5cm x 16cm)
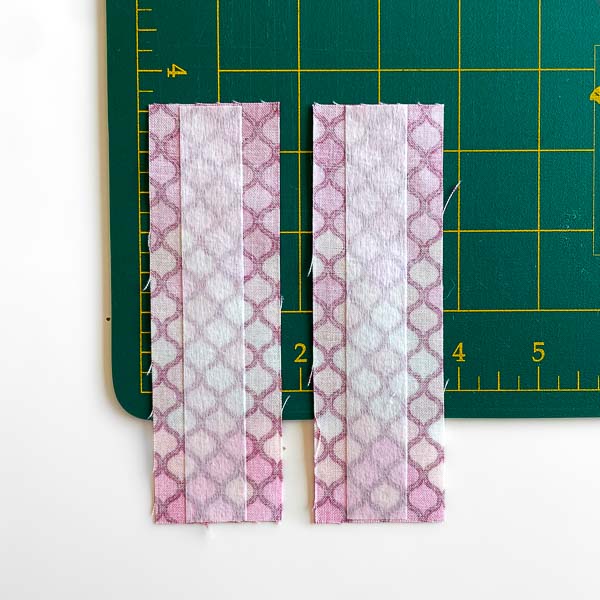
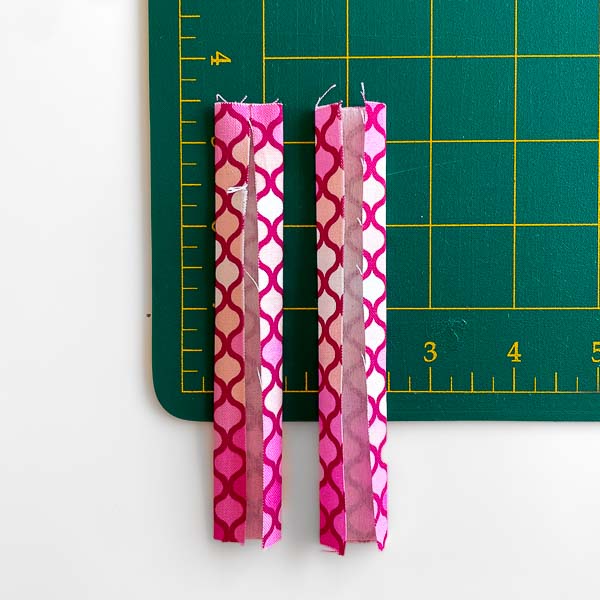
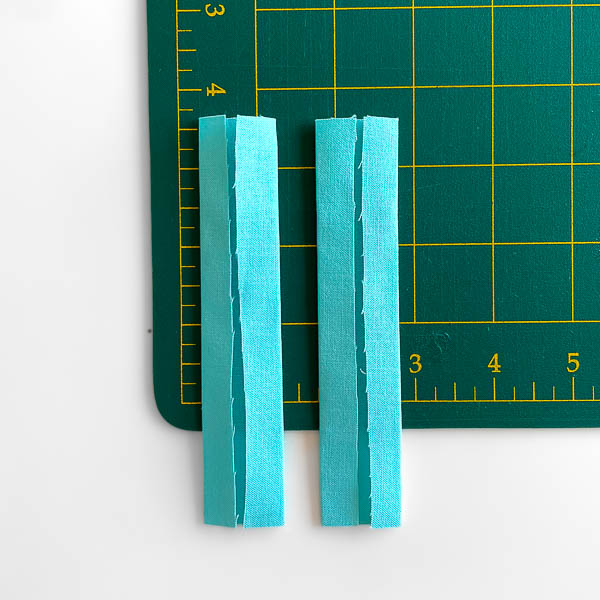
Fuse the interfacing down the centre of the wrong side of the top fabric, ensuring the interfacing is as centred as possible along the entire length of the fabric. Fold and press each long side of the fabric over and onto the interfacing. Set aside for now.
For the bottom fabric, fold and press each long side of the fabric towards the middle.
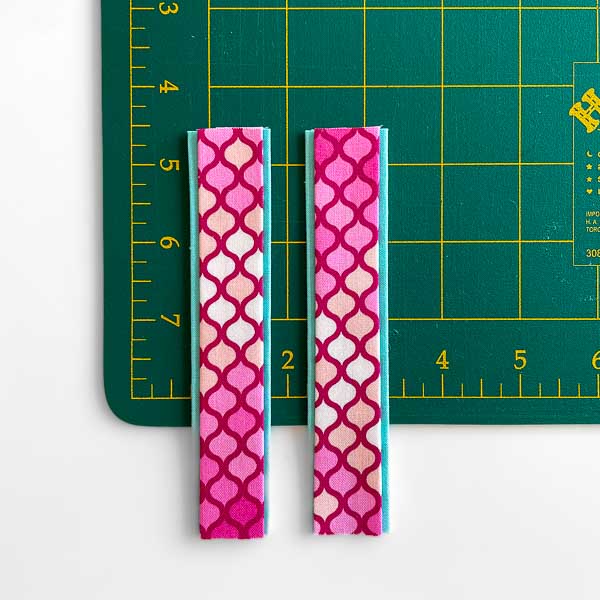
Using glue or tape, layer the top fabric onto the bottom, centring it as best as possible. The folded sides will be facing each other.
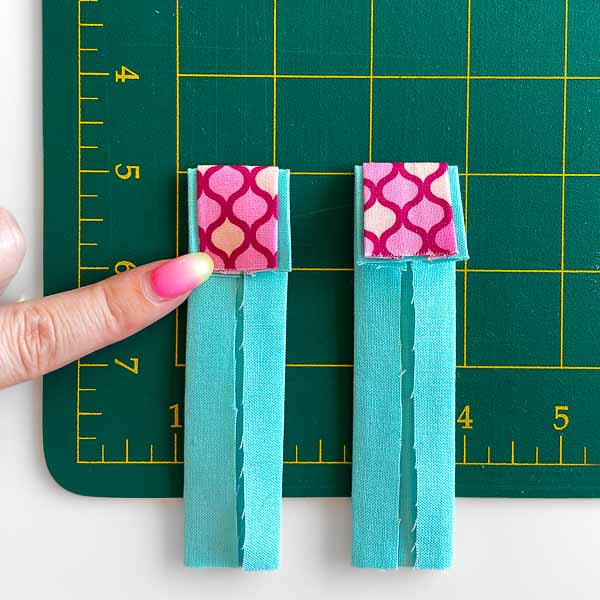
Fold a short end under 1” (2.5cm) to the “wrong side” of each connector and press well.
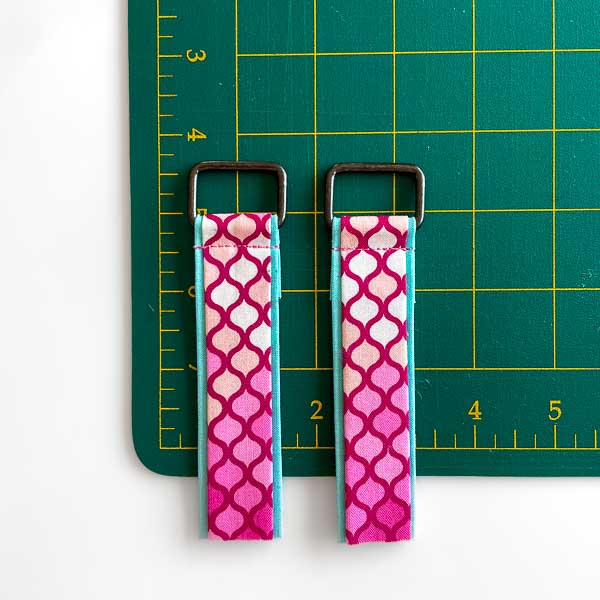
Slot a D-ring into the fold and stitch to secure across the width of the connector, as close as you can to the D-ring, reinforcing 2 – 3 times. Repeat to create your remaining wrist strap connector. Trim ½” (1.3cm) off the end of your connector. The fabric portion of the connector should be 3 ⅝” (9.2cm) from the fold to the raw edge. Set it aside for now.
We’re going to stray from the pattern a little bit here! Sew Outer Panels B and C together. Stitch to attach using a ½” (1.3cm) seam allowance. Trim seam to ¼” (0.6cm).
Press C away from B, pressing the seam towards B. Top stitch down B using a 1/8” (0.3cm) seam allowance.
For detailed photos of this step, refer to Step 9 in your pattern.
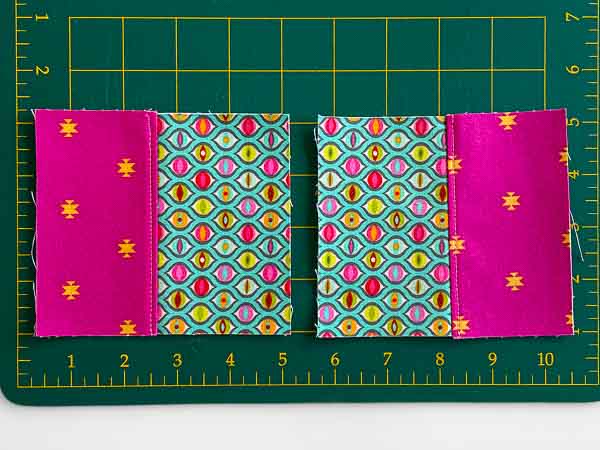
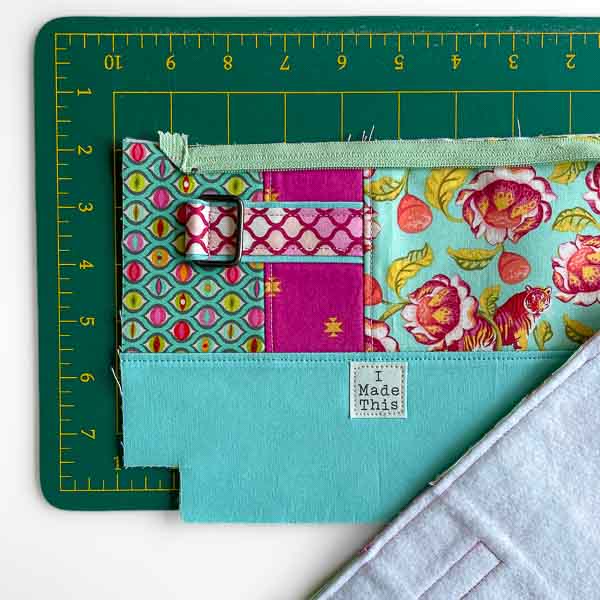
Place the completed panel right side up on your work surface. Place your wrist strap Connector fabric right side up on top of the outer panel piece, placing it 1.” down (3.8cm; both sizes) from the top raw edge. Align the raw edge of the connector with the side (shorter) raw edge of the outer panel piece. The D-ring will be facing the Outer Panel C. Tape/glue in place. Do not stitch as it will be stitched later.
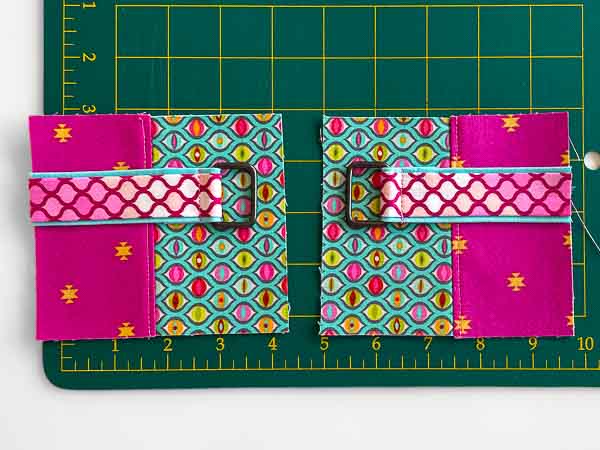
Take the Outer Panel A (Larger) and attach to B (Centre) pieces and place them right sides together, matching the right-hand edge of A to the left-hand edge of B. Stitch to attach using a ½” (1.3cm) seam allowance.
Trim seam to ¼” (0.6cm). Press A away from B, pressing the seam towards A. Top stitch down A using a 1/8”(0.3cm) seam allowance.
For detailed photos of this step, refer to Step 7 in your pattern.
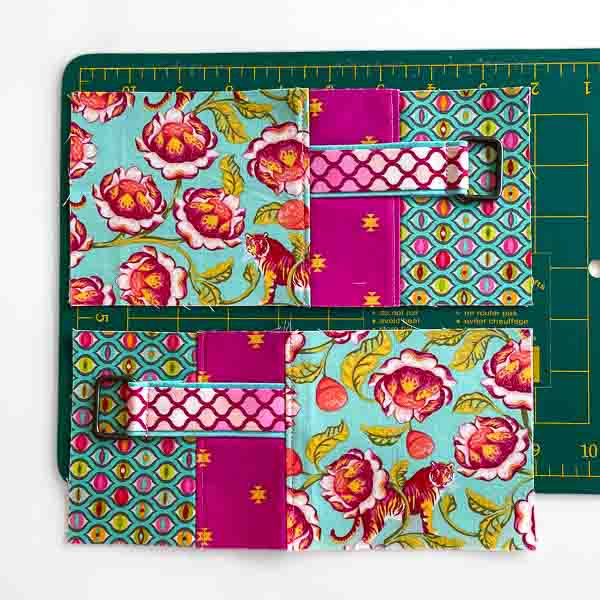
Complete your exterior as per Step 10 in the pattern.
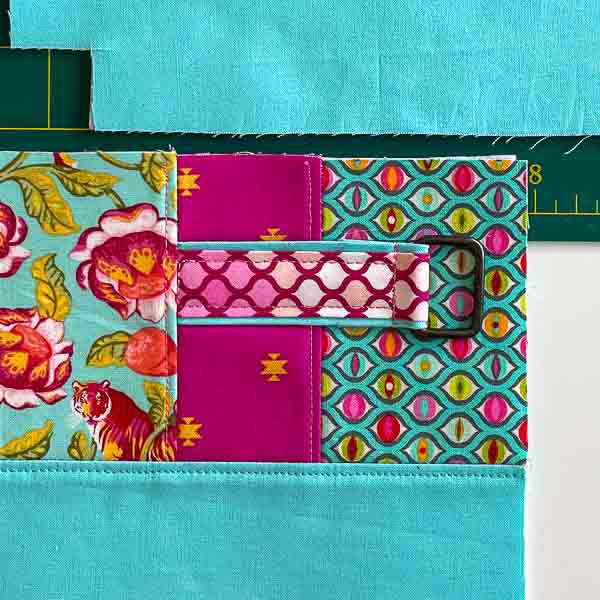
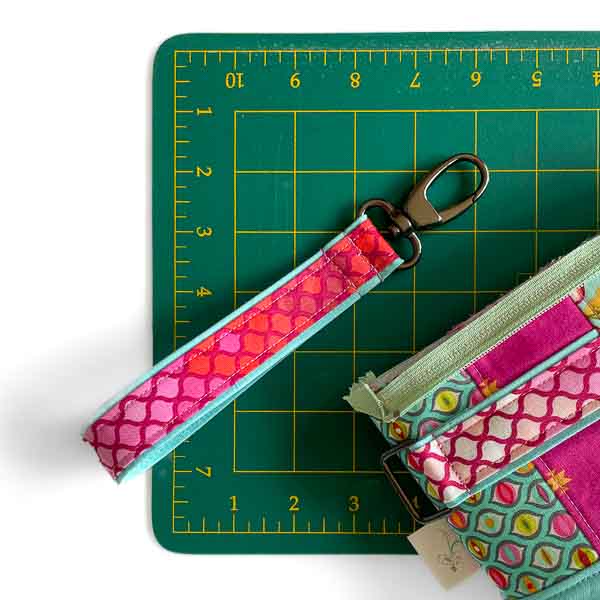
To top stitch your strap connectors, stitch on the Top Fabric of the connector using that fabric as the guide for your 1/8” (0.3cm) seam allowance.



The Little Bird Designs
